Can you name who invented cross stitch? What about the back stitch or chain stitch? What about quilt patterns? Who invented the Log Cabin or Flying Geese patterns?
An Internet search will provide little to no information about the names of these inventors…or should we say textile artists. But chances are they were women who developed these infamous stitches and patterns within a largely overlooked ‘domestic’ world.
Textile artist Christine Chester has long been interested in those who figured out the patterns and math behind much of today’s stitching, and her piece ‘Standing on the Shoulders of Giants’ is a rich and intricate tribute to them all.
Join Christine as she shares a first-hand look into both her research and techniques for this grand piece. You, too, will be struck by how those ‘invisible’ inventors have given us all a platform for incredible expression.
You’ll also learn the steps behind Christine’s hallmark fabric lamination technique that results in transparent beauty the likes of which you’ve probably never seen. It’s amazing how such an intricate and challenging process can lead to such soft and floating materials.
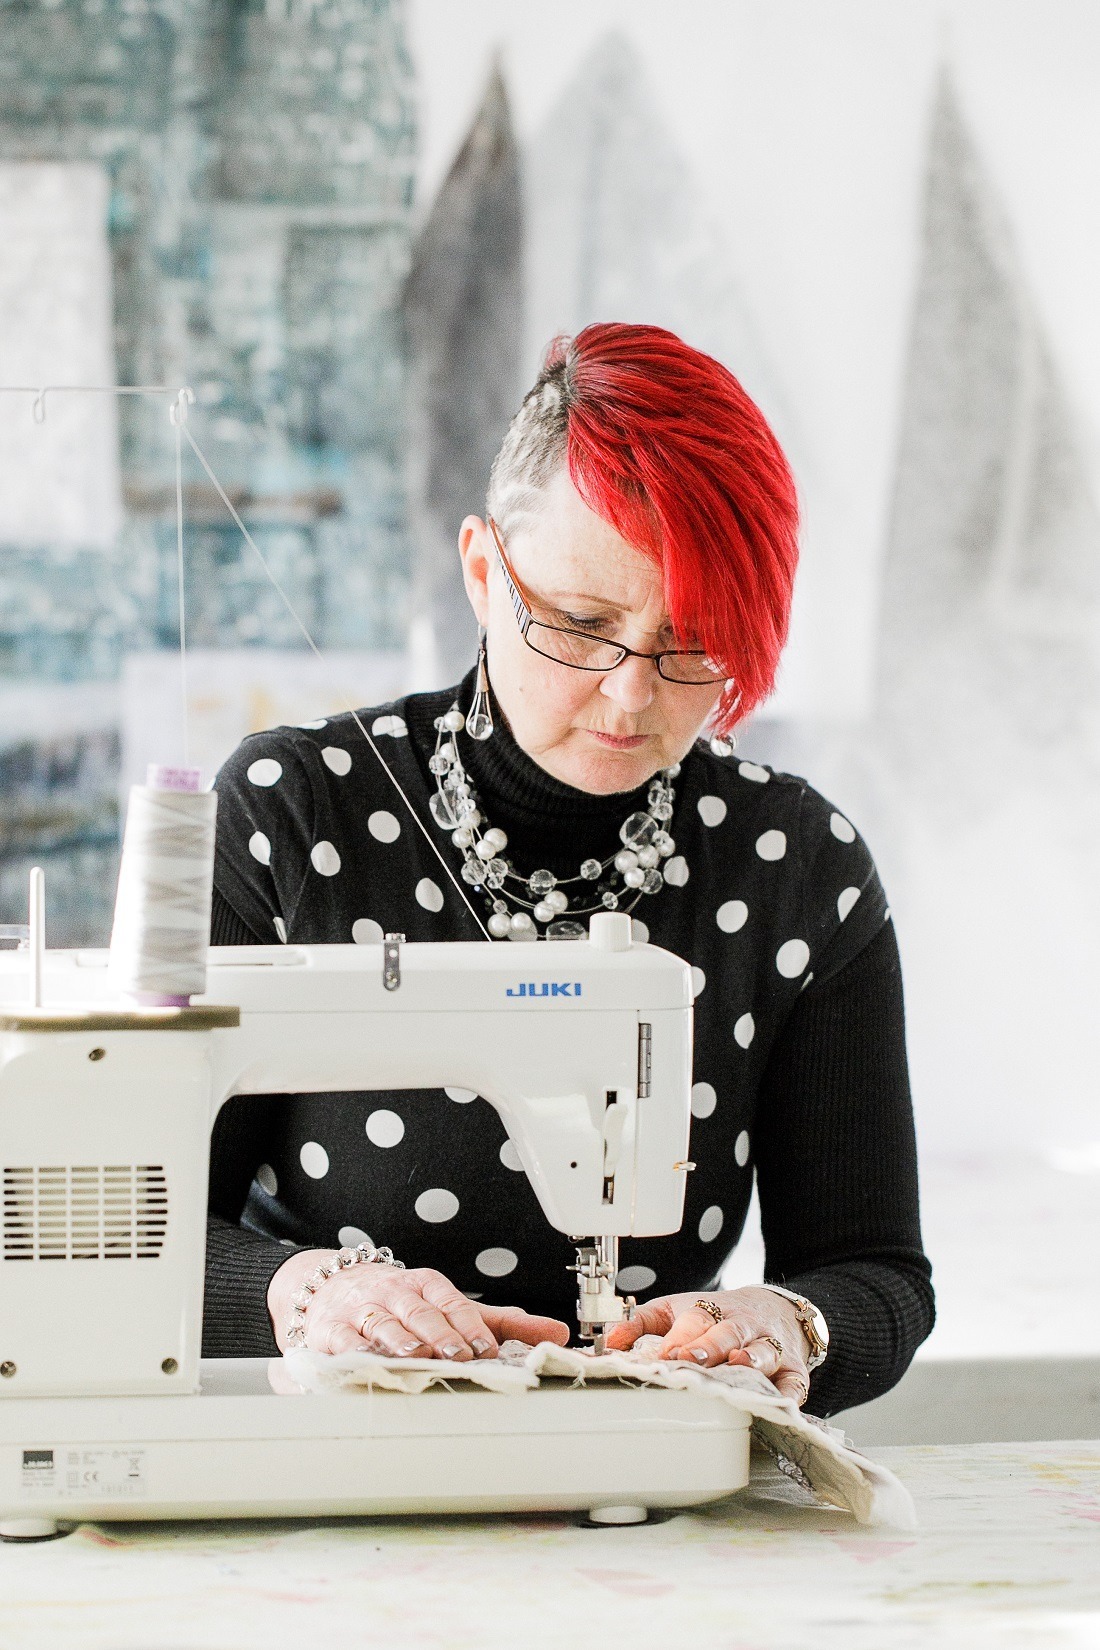
Christine works with and teaches mixed media in her Eastbourne, U.K., studio. She earned a MA in Art & Design from Brighton University. Her work was exhibited at the 2015 and 2018 Festival of Quilts, and she joined other artists in the unFOLD galleries at the 2016. Christine is a founding member of the textile art group called unFOLD.
Name of piece: Standing On The Shoulders Of Giants
Year of piece: 2019
Techniques and materials used: 200cm x 200cm in 3 panels, techniques: Paper lamination, foundation appliqué, materials: Paper, polyester organza
Honouring ‘domestic‘ training
TextileArtist.org: How did the idea for the piece come about? What was your inspiration?
Christine Chester: In 2018, I was part of an exhibition by unFOLD textiles at Festival of Quilts. Our gallery, called Button Box, was inspired by a fabulous book called The Button Box: The Story of Women in the 20th Century Told Through the Clothes They Wore by Lynne Knight.
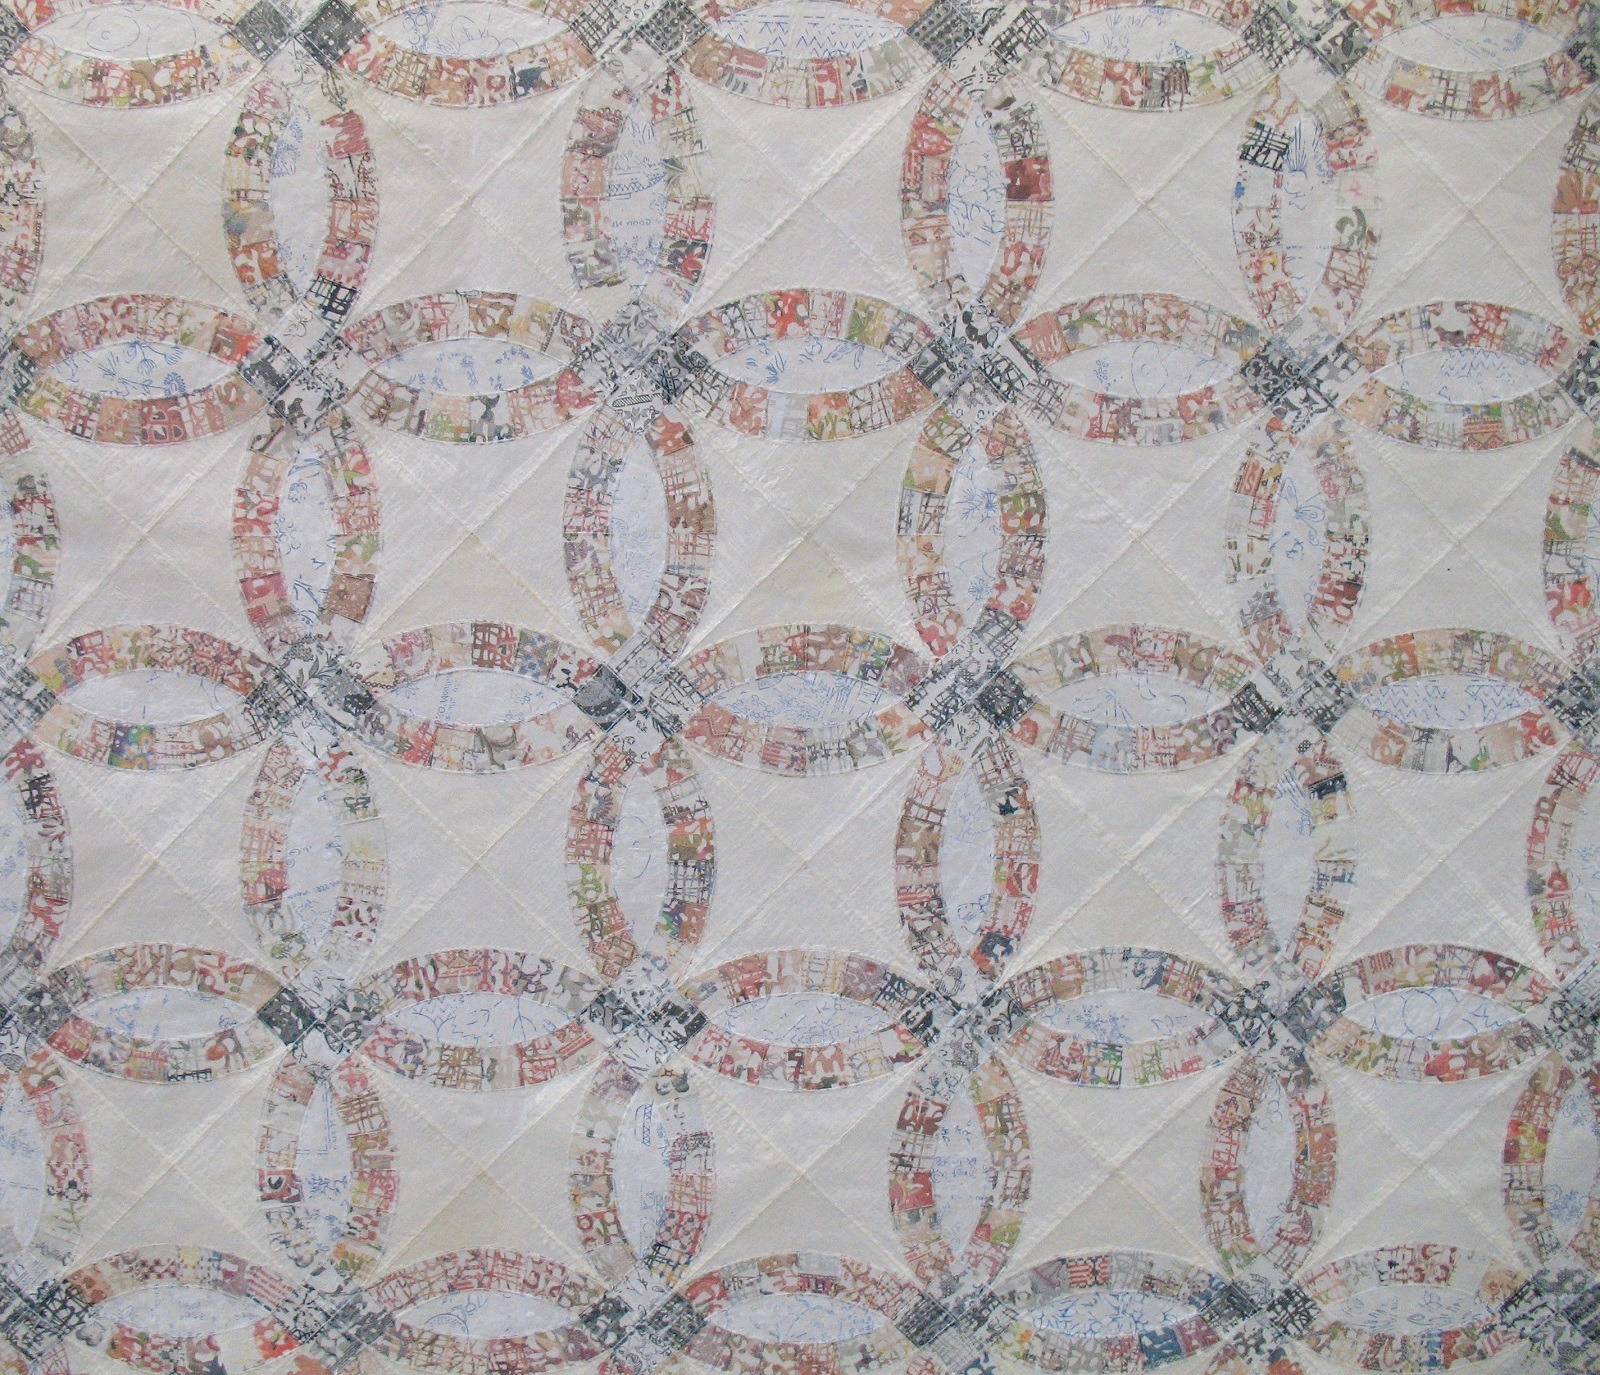
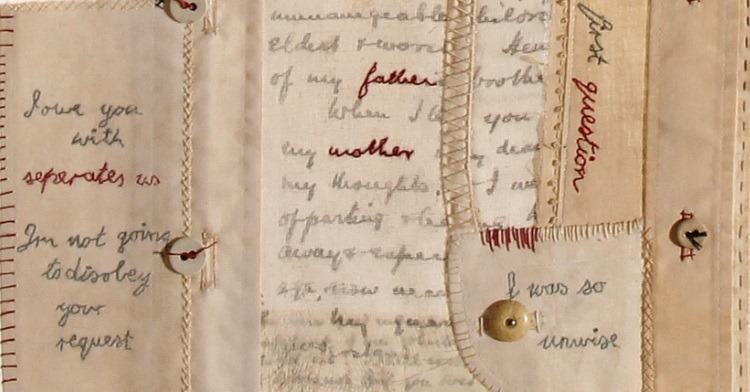
As part of that exhibition, Sarah Welsby and I worked on a hanging entitled ‘Love, Honour & Obey.’ It focused on the education of young girls in Victorian Days (and after) that prepared them for domestic life, of which sewing was a large part. We are both skilled in paper lamination, and so we decided to use papers that were relevant to the theme of ‘domestic training.’ Papers included photos from old magazines of stitched work and those wonderful blue transfer papers that were the forerunners of today’s embroidery kits.
I refined a process which allowed us to create traditional patchwork blocks for a double wedding ring quilt using these fragile lamination fabrics.
After reading Lynne’s book and making work with friends in the group, I spent the greater part of 2018 (the centenary of women’s suffrage) thinking about the debt I, as a woman, owe to those brave women of previous generations who struggled to liberate women from so much, including the expectation of domestic management as their role in life.
After the exhibition, I moved on to consider how patchwork, quilting and textile art in general was also part of domestic training. And I realised my being able to take risks and develop new ideas and processes was because of the many, many makers stretching back centuries. They had already developed the processes and worked out the patterns and methods to the point where I was able to build upon them and take them forward.
When I graduated with my PGCE (teaching certificate) in 1984, my final dissertation had been about the invisibility of women in history. It seemed to me 34 years later, that not much had changed, and indeed this could be extended to the role of women in art history. Yet I learned so much from those women who have been making quilts, clothes, domestic items and artwork.
My next piece of work for Quilt Art called ‘Standing on the Shoulders of Giants’ was destined to be part of an exhibition in a major London venue. I wanted to use that opportunity to make work acknowledging this debt, and the idea of choosing something very traditional and putting my own interpretation on it began to take shape.
The quote from Isaac Newton from which the title of the work is taken describes the notion of furthering knowledge because of what has already been learned: ‘if I have seen further, it is by standing on the sholders [sic] of giants.’
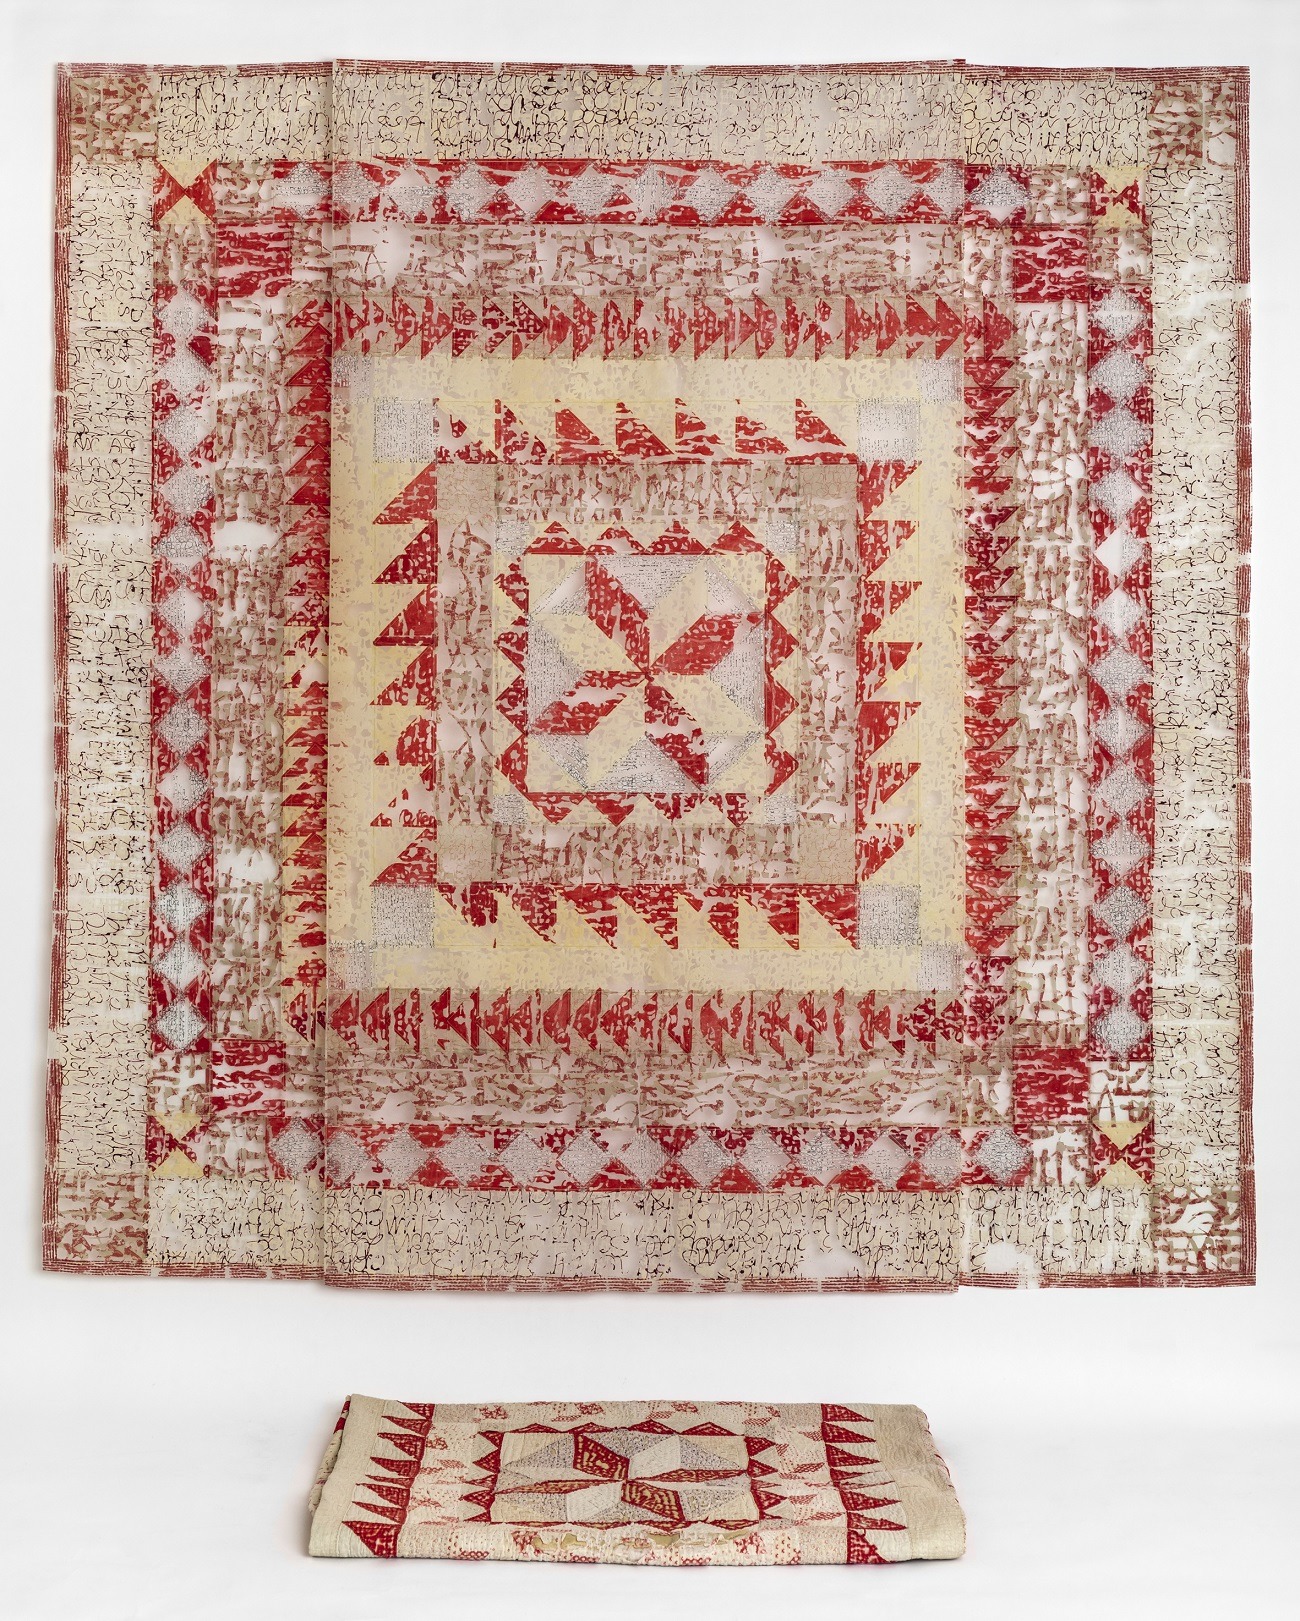
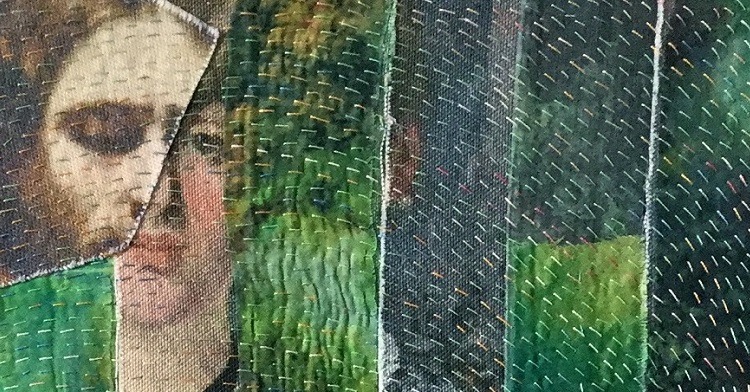
As ‘invisibility’ played a major role in the formation of the idea, working with paper lamination fabric made from transparent materials seemed the perfect process with which to construct the work. Using the method developed for ‘Love, Honour & Obey,’ I made a copy of a very traditional quilt using new fabrics and processes to create something which was clearly neither functional nor domestic. Instead, it was a piece of art that could only be displayed on the wall.
What research did you do before you started to make?
I had two strands of research, the first being finding a traditional quilt pattern to copy. However, putting together my own idea of a traditional quilt did not fulfill my larger idea for the hanging.
A visit to the Balanciaga exhibition at the V&A Museum of Art & Design (U.K.) where I saw the most fabulous X-ray photos of a couple of his garments became my inspiration. I was so excited by how the X-rays of the garments revealed the previously invisible, but I also realized I would need an actual quilt to X-ray and complete my vision of the work.
That’s why, as shown in the full photo of the work, it is only complete to Stage 1. It lacks the two outer X-ray panels that can only be completed once I have won the Premium Bonds and can afford the cost of having a full-sized quilt X-rayed!
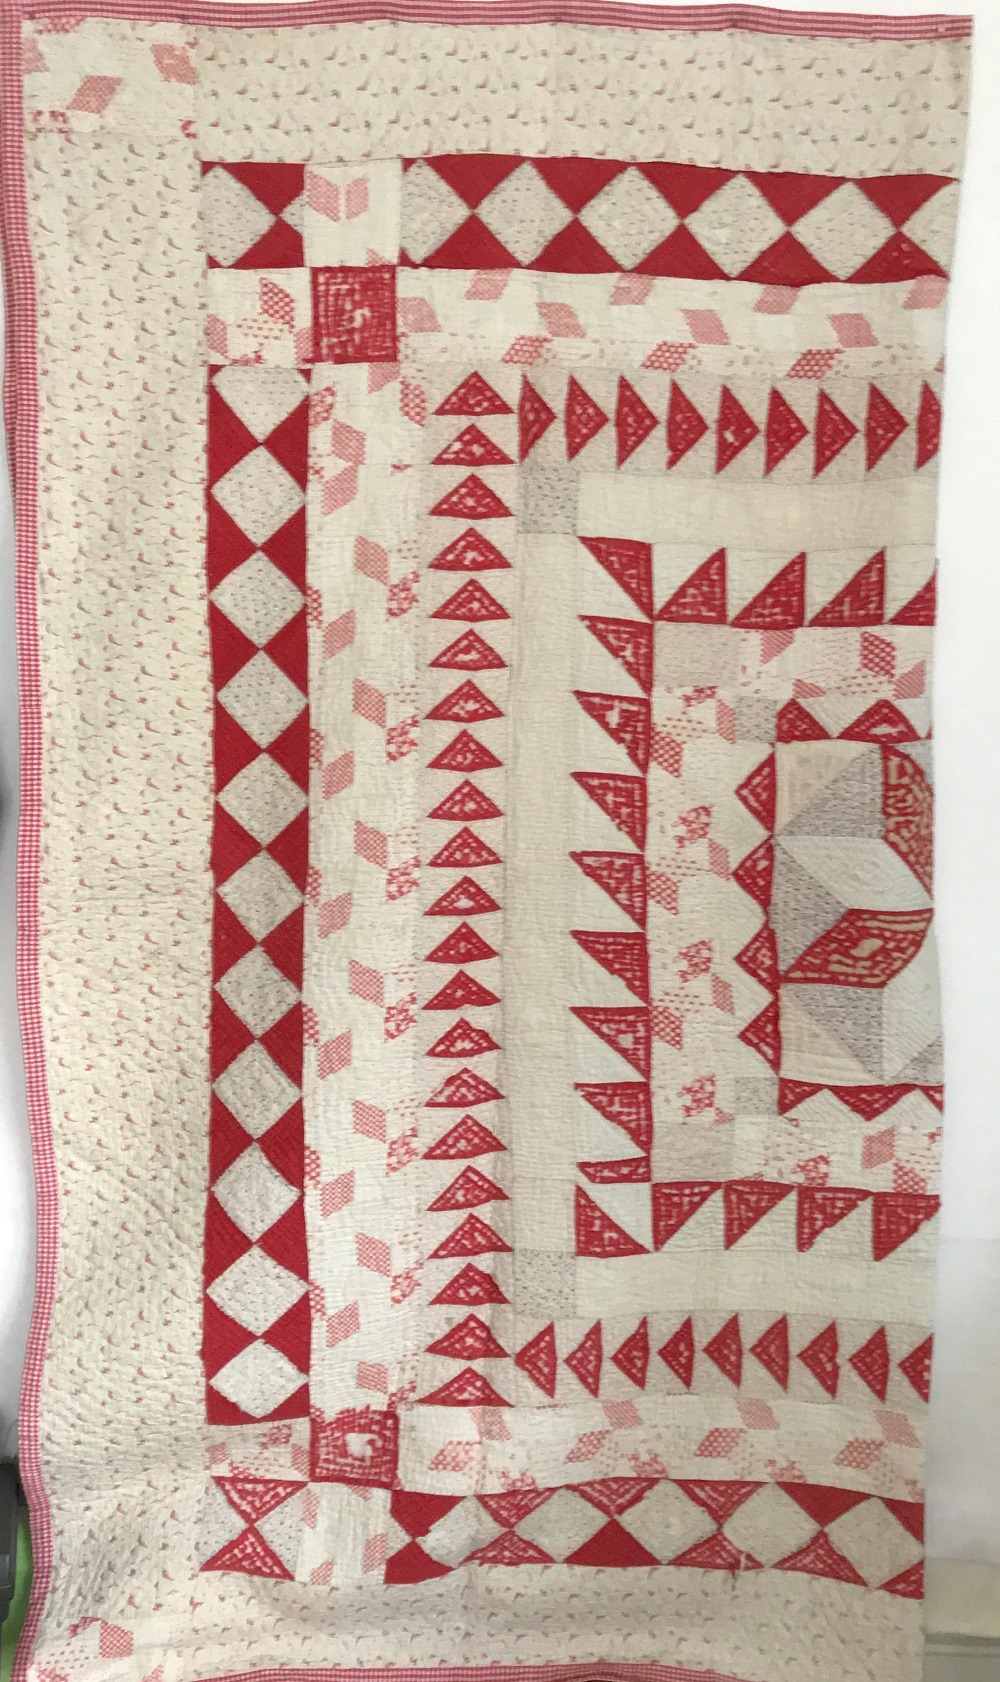
I did not own an antique quilt, so I first scoured the Internet for an old quilt. But then a conversation with my sister revealed an artist friend of hers had gifted her a quite ordinary red and white quilt in a poor state that she was very happy to donate to the project. That gave me all the colours and patterns I needed.
The other strand of research was how to include other makers in the work. I could have left it at using just the old quilt. But I wanted to include contemporary makers, as well as those making traditional quilts, as my peers were just as important in inspiring and enabling me. But how to choose?
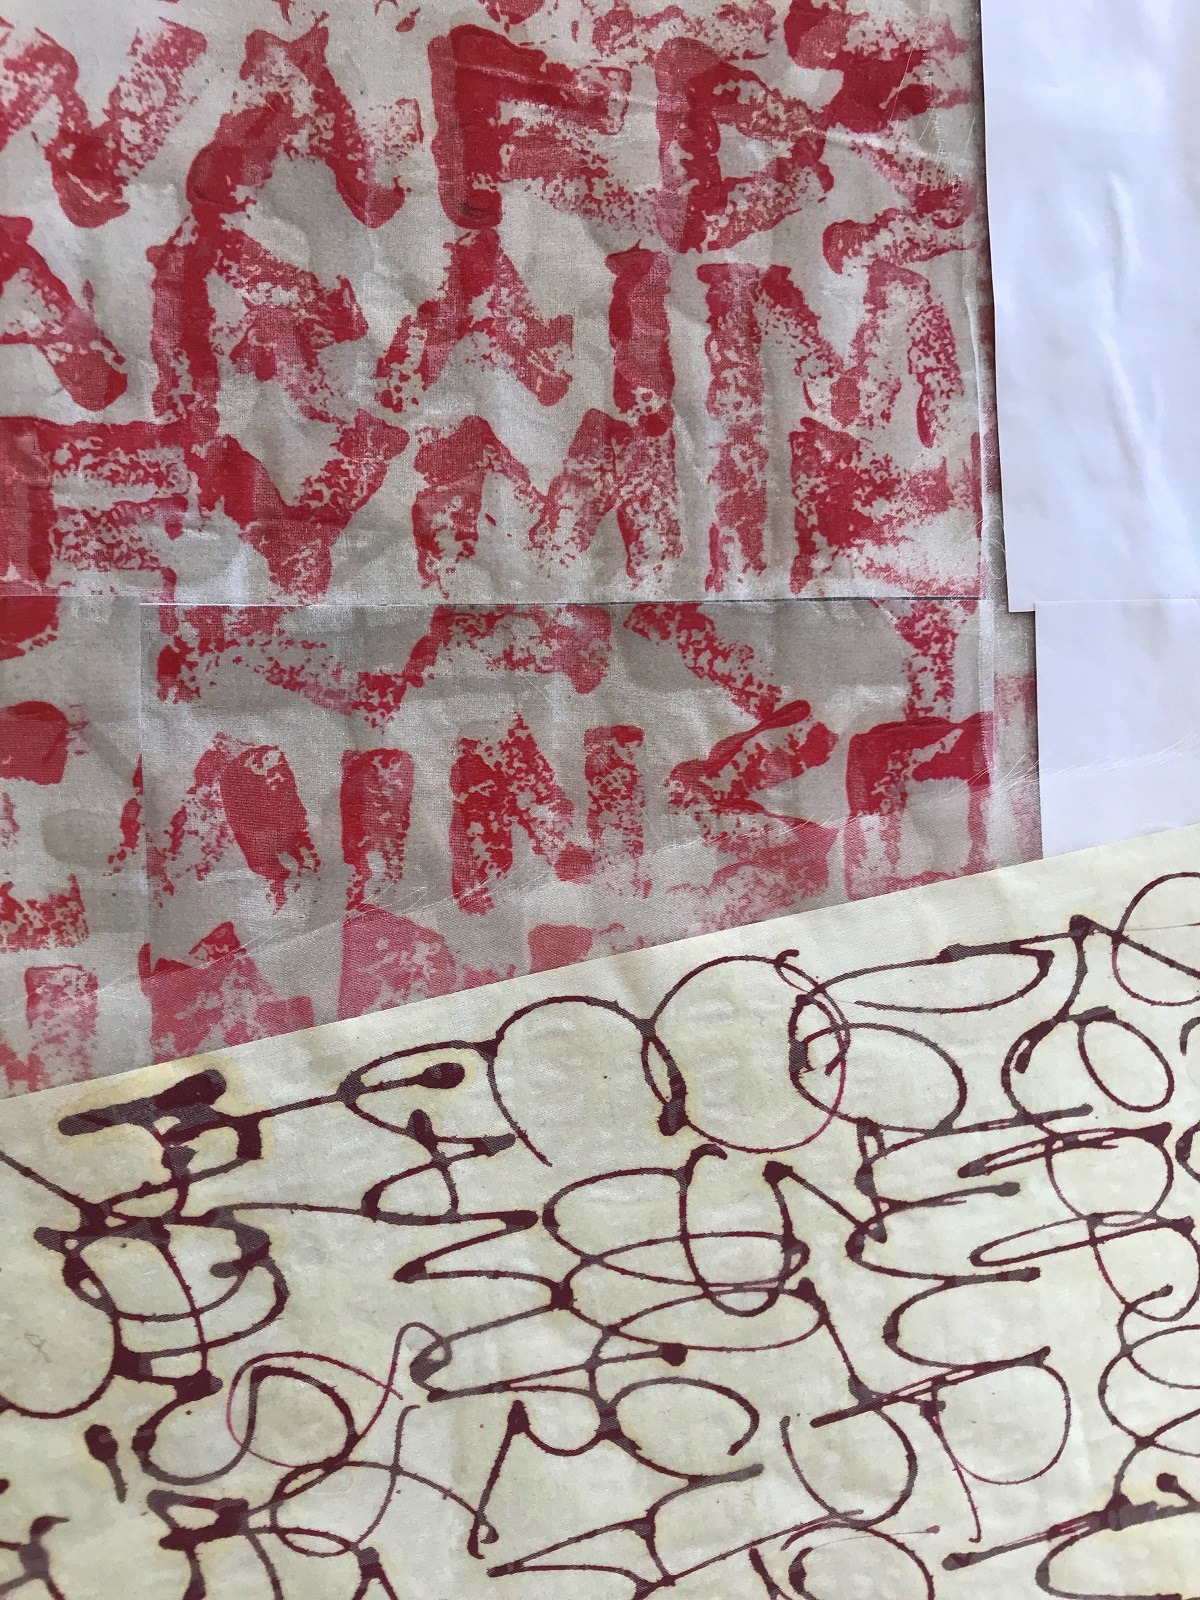
Because I was going to make paper lamination fabric to mimic fabrics used in the quilt, I would need to use mark making and drawing to give pattern and texture to the different areas. So, I decided I would write names on papers using different tools and sizes of text, which meant I could use a lot of names. But, again, how to choose?
I looked at my bookshelf and very few of my books had the broad spectrum of makers I needed. I didn’t want to have to make those difficult choices by picking and choosing from one book about traditional quilts and another about art quilts.
Then I found my catalogue from the 2010 Quilt Exhibition at the V&A that listed all the makers and the dates of their displayed works. This was perfect, as there were a lot of makers listed as ‘unknown.’ It also listed the names of men and women who had made traditional works alongside contemporary makers who the V&A considered suitable for their exhibition. I didn’t have to choose! I used all of those names and dates in my papers.
Paper lamination explained
Was there any other preparatory work?
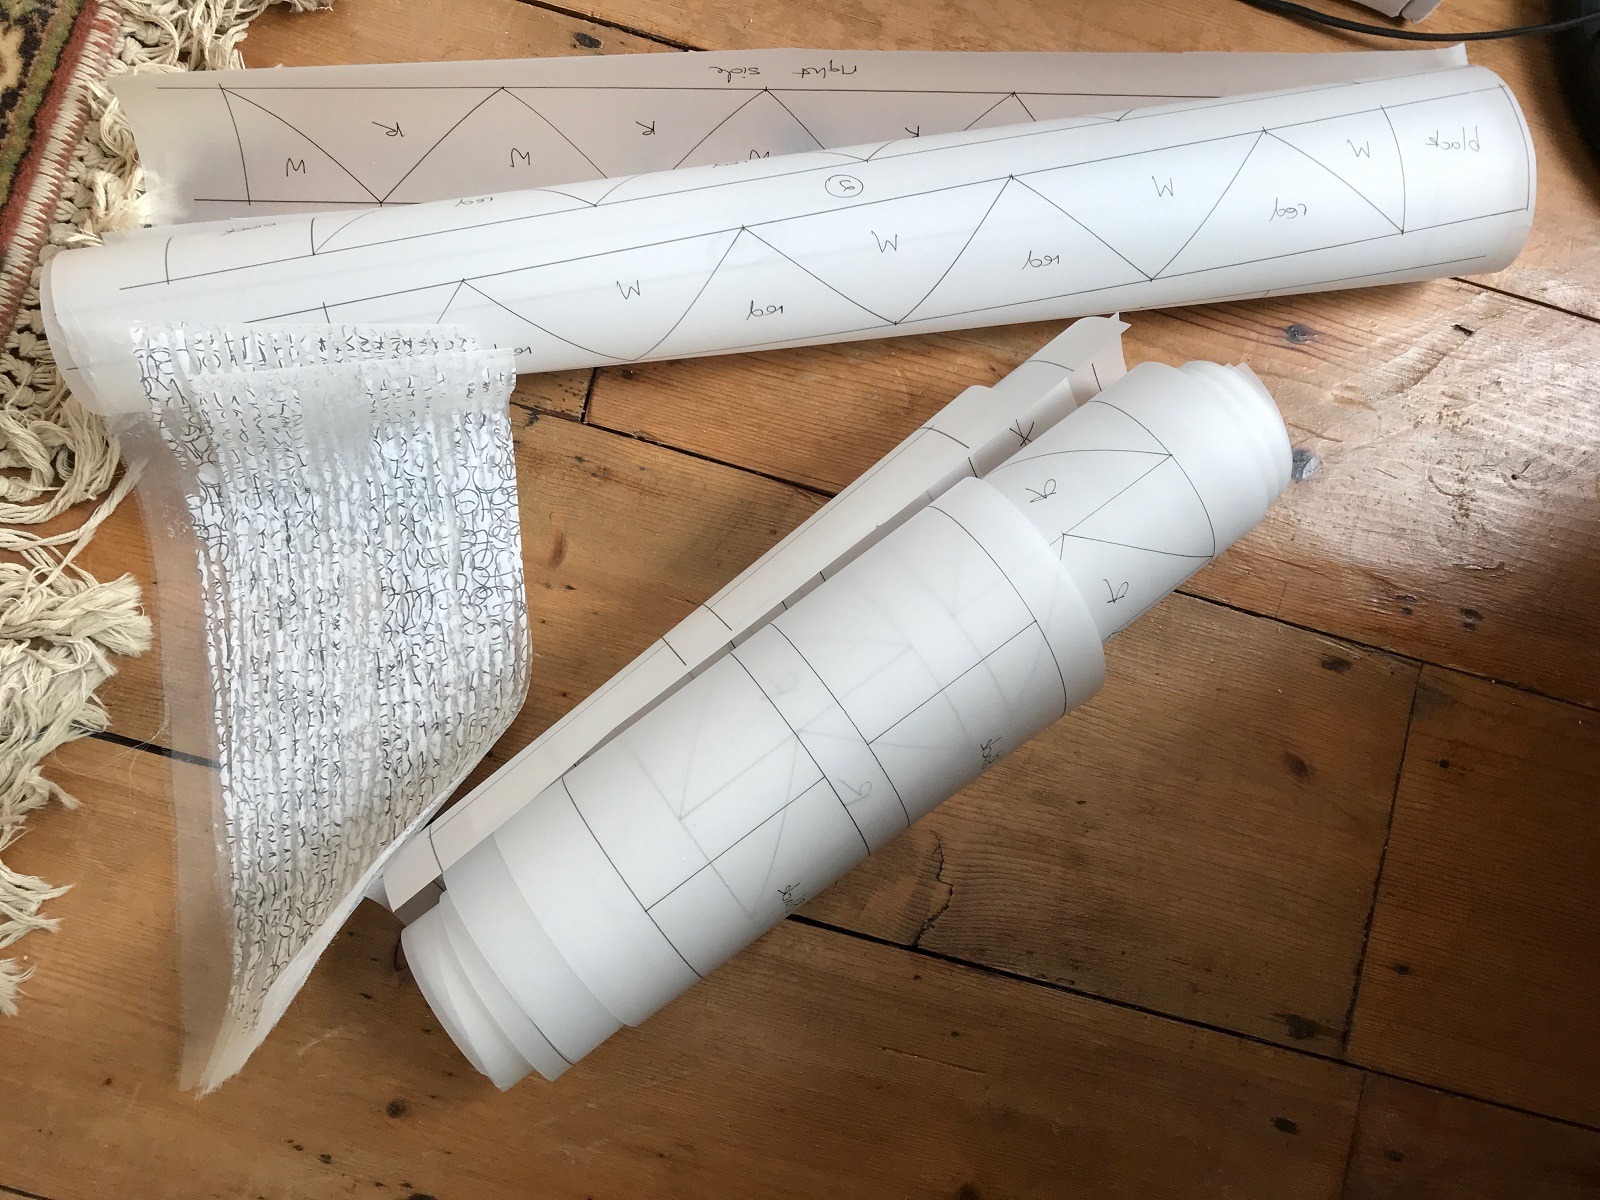
Having decided upon the quilt pattern I was going to recreate, I had to painstakingly measure and accurately redraw the pattern in a form that would enable constructing the paper lamination fabrics in a large quilt-top form.
I debated copying the quilt, including its slight faults and ‘fidging’ that had been done on the original. But, in the end, I decided I had to make the copy as I would have made the original. So, I adjusted the measurements slightly to enable a better fit for some of the patterns.
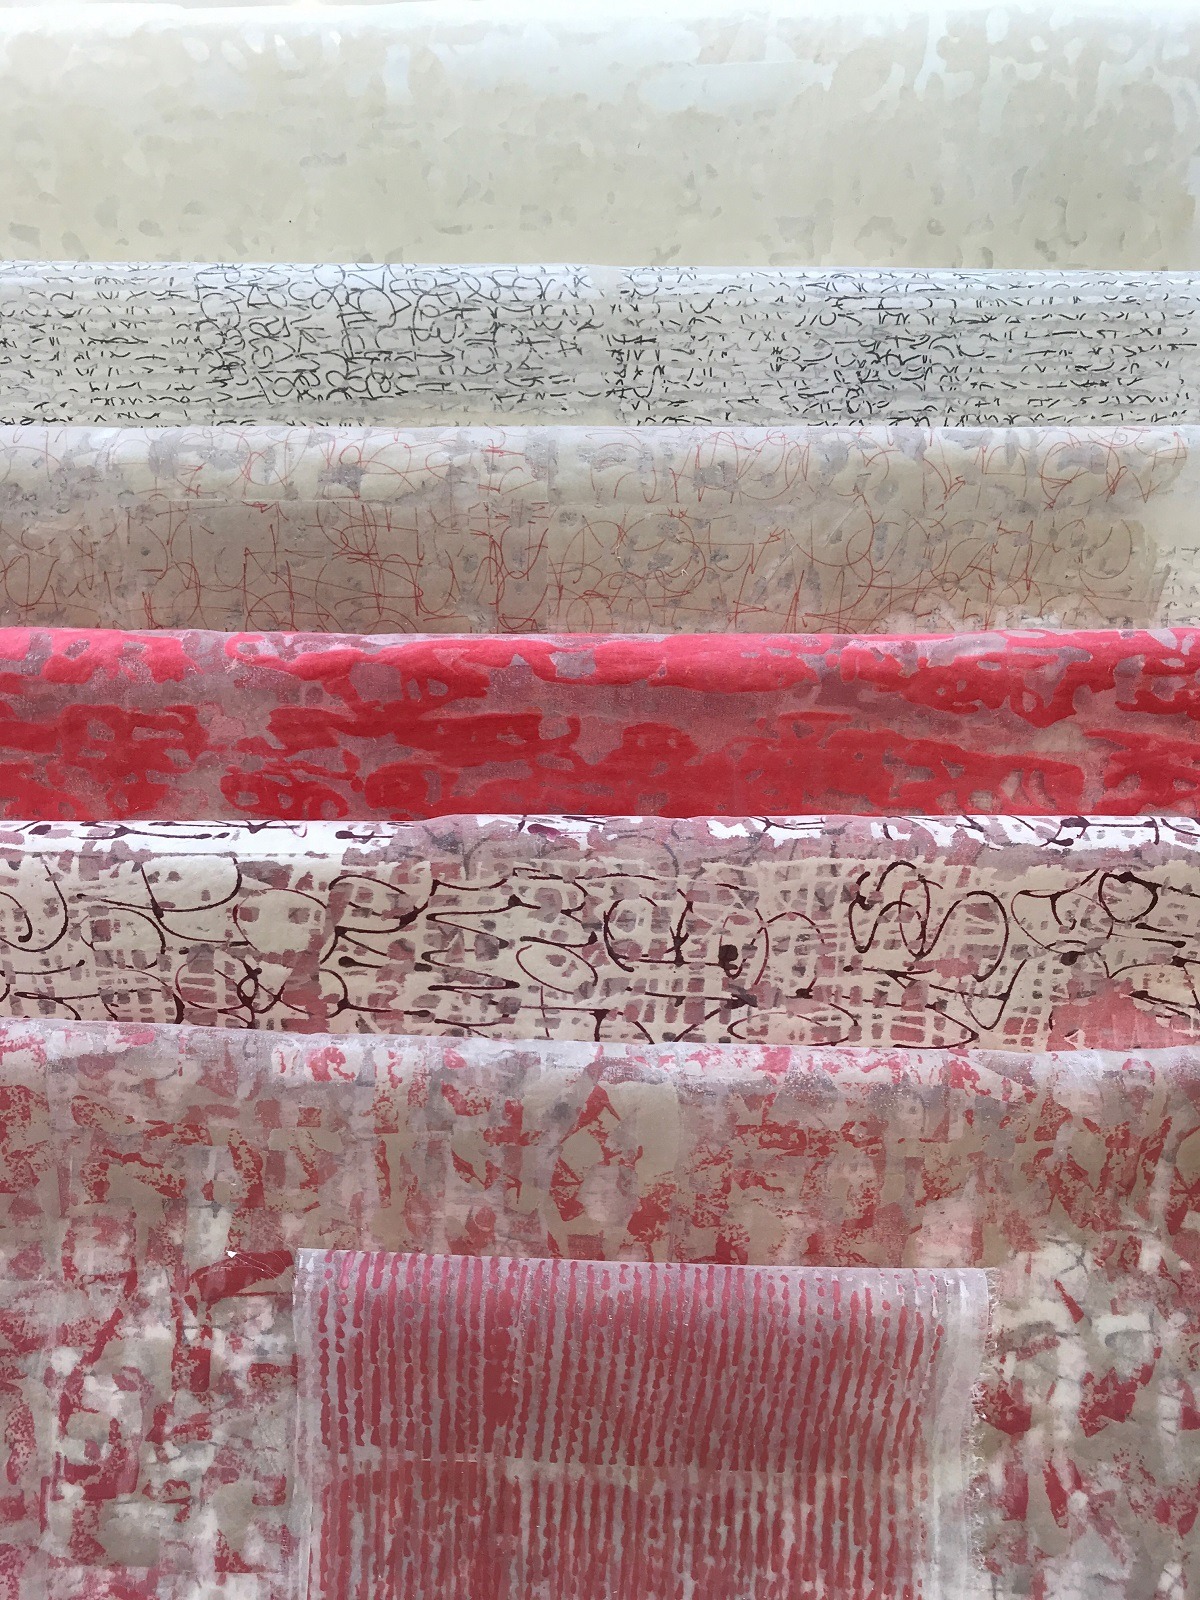
I also had to spend quite a long time with squared paper to work out how much fabric I needed to make the different colours/patterns required. I was using seven variations of white and red fabrics, and the quilt was 80 inches square, so I needed quite a lot of paper lamination paper, but in very unequal amounts of the different patterns. I did not want to get halfway through the construction only to find I was running out of a particular colour.
Thermofax screens play a major role in my paper lamination fabrics. So, I also had to decide what screen designs to use to make the fabrics, as the print from the screen is as important as the marks on the papers. Could I get away with what I already had, or would I need to make more screens?
Sometimes this delay in the making process at one of its most exciting development times has to be weighed against the benefits of using completely original screens tailored to the project. Because I was on a deadline and the hanging was large, I decided a combination of a raindrops screen I had developed for the Screens4printing library of images and a couple of my own screens already developed from text would create the marks I wanted. I didn’t need to delay myself further at what is a time-consuming stage of making the fabrics.
What materials were used in the creation of the piece? How did you select them? Where did you source them?
Making fabrics for my work is an important part of the process. I get to control all the marks in the work—not just the stitch or construction.
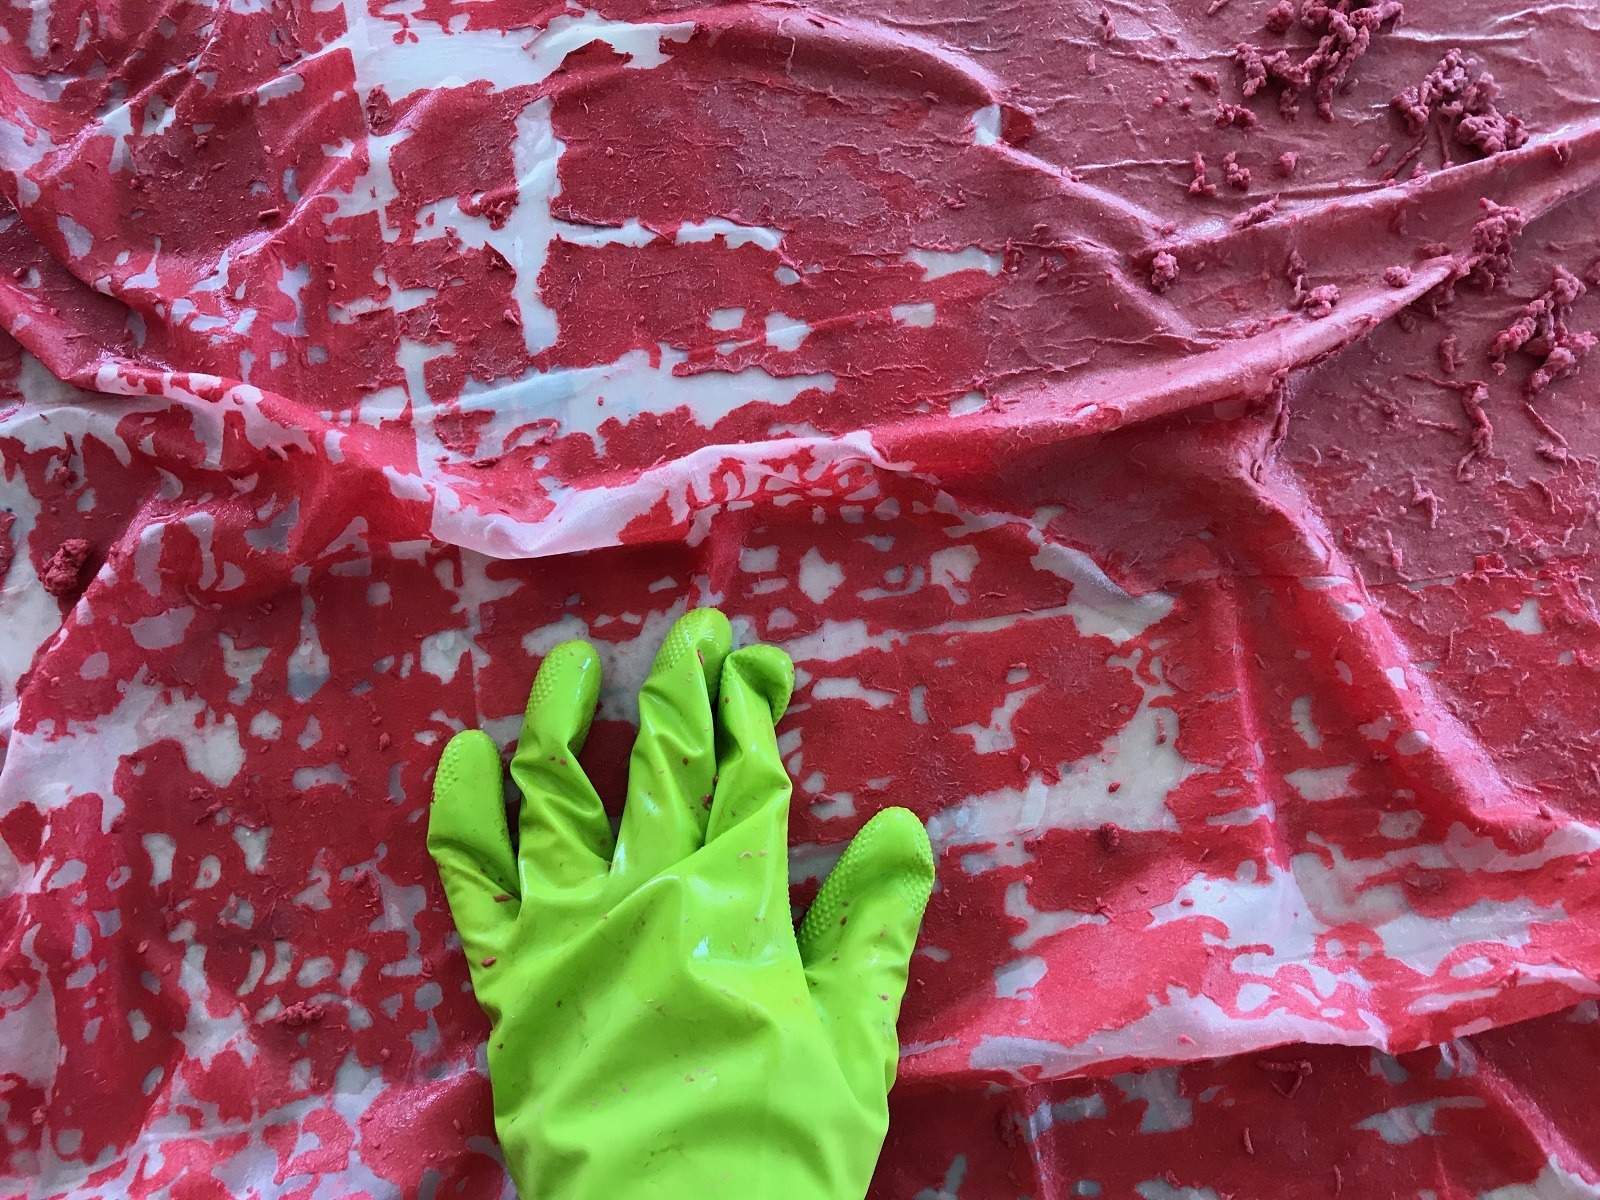
The enjoyment of seeing the fabrics, marks and patterns appear under my hand is all part of the excitement of creating new work. However, I have to admit making enough paper lamination fabric for a double-bed-sized quilt was quite an effort. It’s a physical process to remove the excess paper from the back of the fabric and gets tedious after a while.
Lot of music is played to help pass the time whilst scrubbing away the paper pulp.
I use a very transparent polyester organza for all my paper lamination work. It behaves really well when being scrubbed with a green scouring pad. It is also very see-through, so the patterns and marks on the paper are not obscured when viewing the paper surface through the fabric. That allows text to be seen the correct way around.
What equipment did you use in the creation of the piece and how was it used?
This piece was relatively light in equipment use. Paper lamination involves printing matte medium through a sheer fabric onto paper to bond them together. I use either silk or Thermofax screens, but I prefer the Thermofax screens because they are easy to handle and make bulk printing quick.
Other equipment I use for the wet process is a good pair of rubber gloves with textured finger tips and a scouring pad. If a project is large, I’ll use several pads, as they clog up with paper pulp whilst working.
Other than that, all I needed was a quilter’s rule for measuring and drawing out shapes that make up the quilt top and a sewing machine for construction. Tweezers are also helpful for picking out the tracing paper once stitching is finished.
An intricate process
Take us through the creation of the piece stage by stage
Having prepared my fabrics, I drew out the pattern of the quilt construction on tracing paper. This is sturdy enough to be used as a stitch base, but brittle enough to tear away easily once the stitching is completed.
Knowing this hanging was destined to travel with the Quilt Art exhibition ‘Material Evidence,’ I knew the piece had to roll into a reasonable size. So, I decided to make it in sections, so it would hang separately.
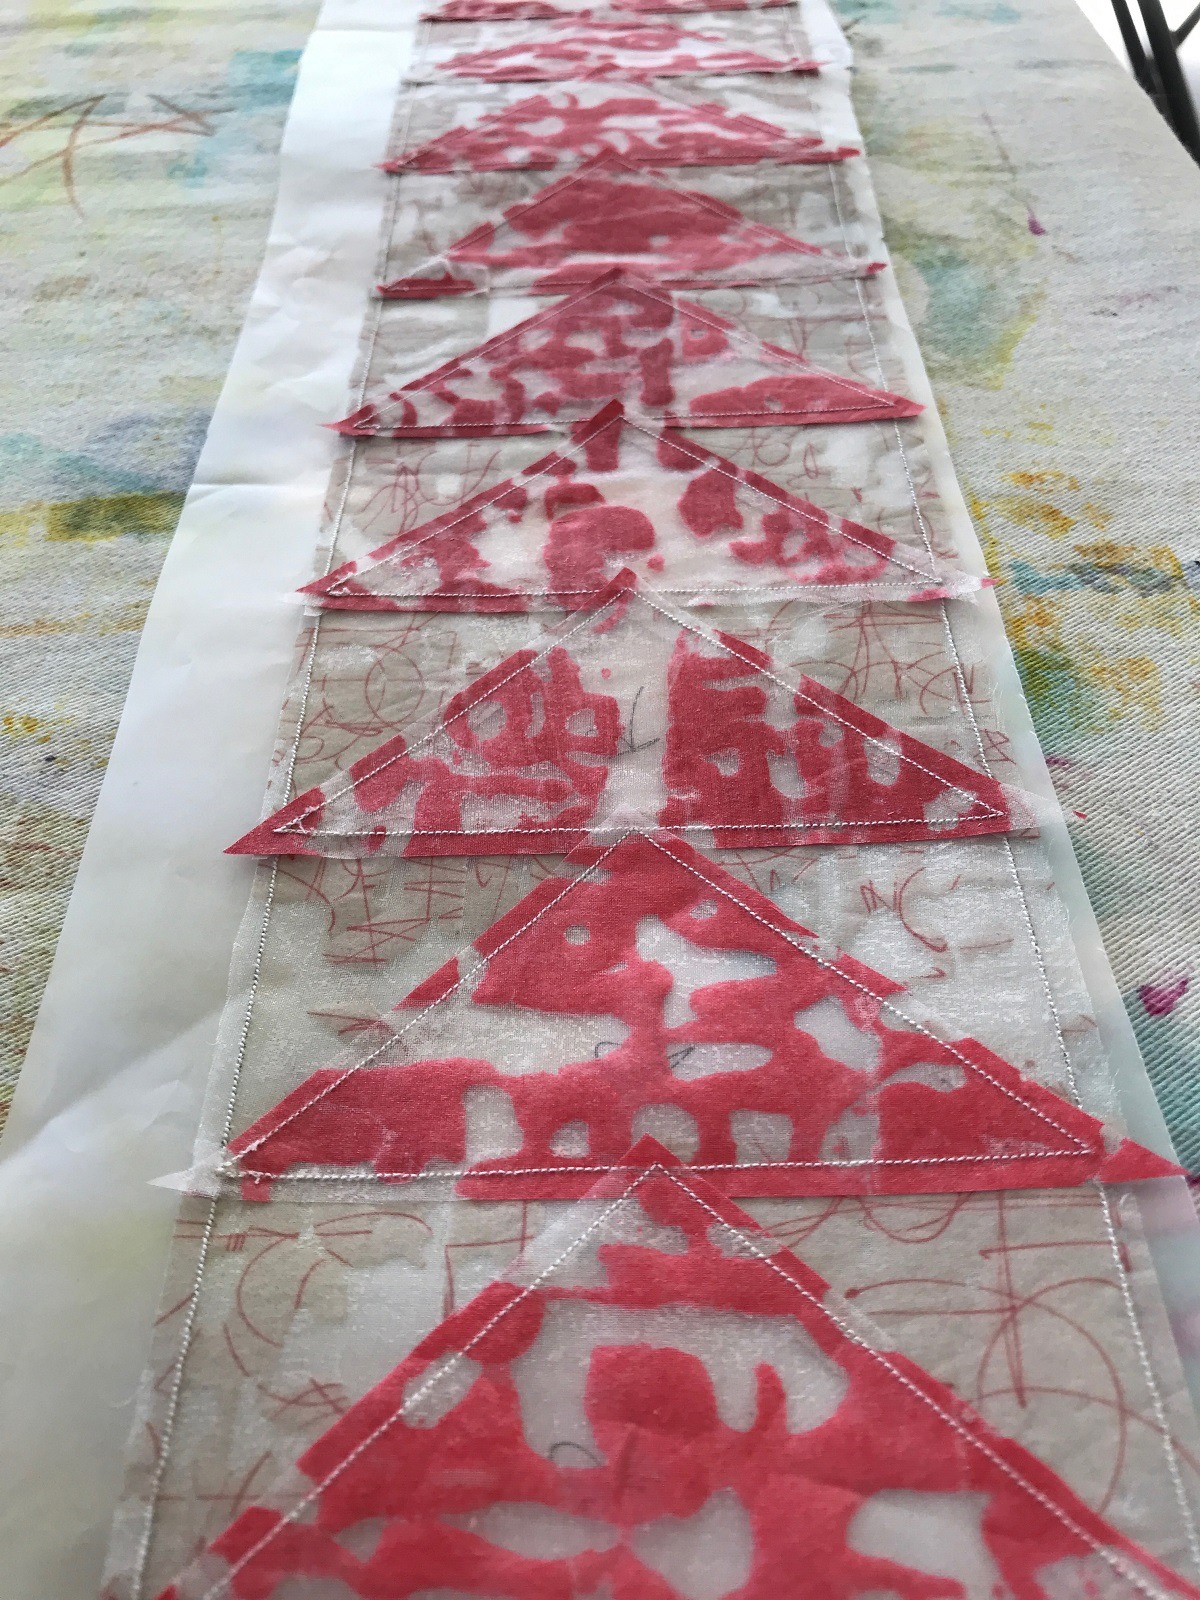
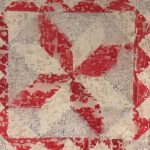
Like the quilt, the hanging was made from the centre out. There was a central block surrounded by strips with on-point squares, flying geese and other simple patchwork patterns. Each of these were made as separate strips and then joined to the main central block. The paper was not removed until the next strip had been joined to keep the edges stable and firm.
To improve accuracy, all stitching was done like foundation piecing, working from the back, which is another bonus of using tracing people. You can see through it and make sure the fabric is sitting in the right place for stitching.

The larger fabric pieces were then trimmed back to the stitching as close as I dared. This was not stitch and flip. It was a sort of foundation applique for which each piece was put in place and stitched to the paper and then another piece was put beside it and stitched in place.
Finally, the outer edge was bound with another piece of paper lamination fabric, giving the outer edge a little more presence. It also created a softer edge than a cut edge would have given it. The inner edges of the separate panels were cut and then stabilized with zigzag, so the pattern continuity across the panels was not disrupted.
What journey has the piece been on since its creation?
‘Standing on the Shoulders of Giants’ was exhibited as part of the Quilt Art ‘Material Evidence’ exhibition (June, 2019) at Meniers Gallery in London. That exhibition honoured the memory of Mary Fogg, one of the founding members of the group. It seemed particularly apt that my work acknowledging my debt to previous makers would be part of an exhibition that featured the debt individual members and the group as a whole owed to Mary.
I am particularly proud of this piece or work and am looking forward to being able to add to it with two other panels one day to give it a new life. It was about to be displayed at Cowslip Gallery in Cornwall when the Corona virus lockdown began. This has affected all the subsequent venues in Europe for 2020 as well.
For more information visit www.christinechester.com
Christine wants us to remember and celebrate those who created the stitches and patterns we use today. Which stitches in particular do you rely upon for your textile art? Let us know below.

3 comments
Patricia Arthur
Wonderful article. Thank you for sharing your amazing techniques Christine.
Regina Dunn
What a marvelous creation. Using paper lamination for this work was a perfect choice.
Anne
Geometries express so much poetry – the study is always fruitful, often in unexpected applications.