When you hear the word ‘portrait,’ chances are you picture an image of a person at least from the neck up. And regardless of the person’s smile or gaze, the goal of that portrait is to share information about that subject’s personality.
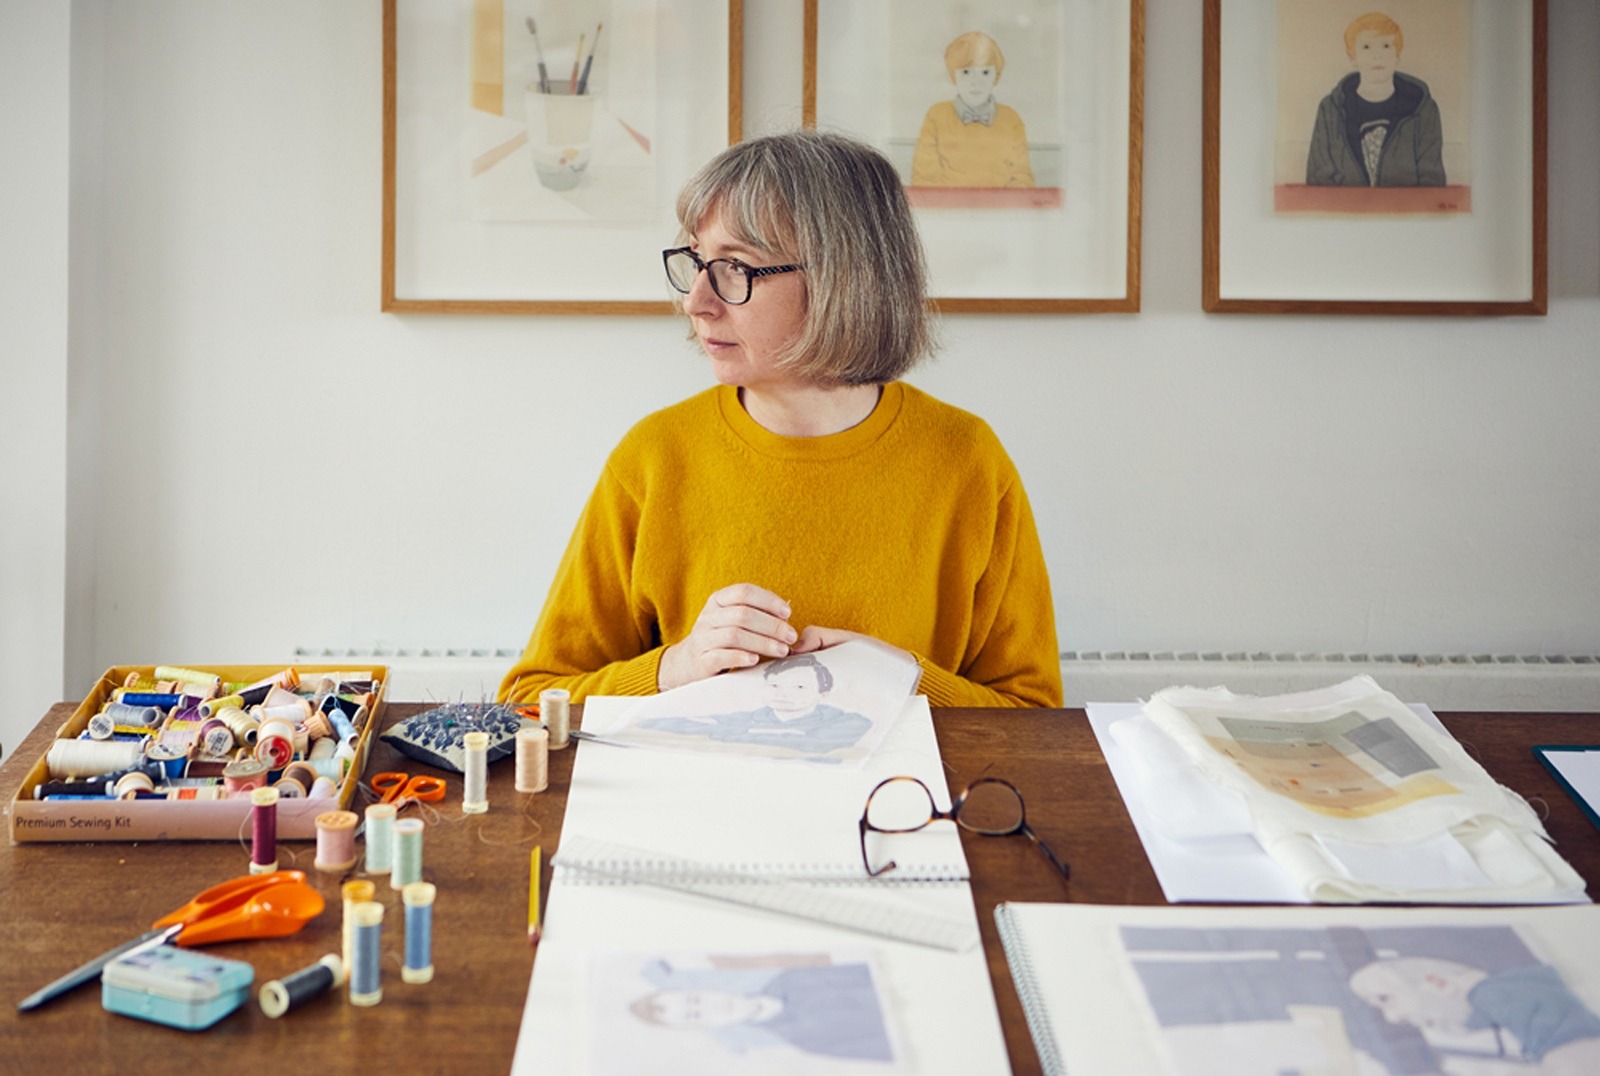
Now imagine creating a portrait without using a person’s face. In fact, picture creating a portrait using no physical references at all. That’s the dilemma Emily Jo Gibbs faced when a good friend refused Emily’s request to create her portrait. Ironically, that refusal turned into a remarkable creative exercise.
Emily decided to focus on the tools her good friend used in the studio, and that later inspired a series of works showcasing local artisans’ tools. From a glass blower to a shoemaker to a metalsmith, Emily reached out to her favourite local artisans asking to create their ‘portraits’ featuring their tools. And the end result is visually engaging.
Enjoy this insider’s look into Emily’s process and techniques, including how to work with tricky materials such as organza. We promise you’ll be inspired, and you’ll likely never look at your pincushion the same again.
Portraits without faces
TextileArtist.org: How did the idea for the series come about? What was your inspiration?
Emily Jo Gibbs: At the beginning of 2017, I conceived the idea to make a series of portraits of ‘Makers’ by showcasing the tools they used. The project was called ‘The Value of Making.’ My aim was to celebrate people who make things—a constructive retort to our society’s lack of value placed on making.
I chose seven contemporary Makers across a broad range of disciplines whose work I admire because of their design aesthetic, making skills and materiality.
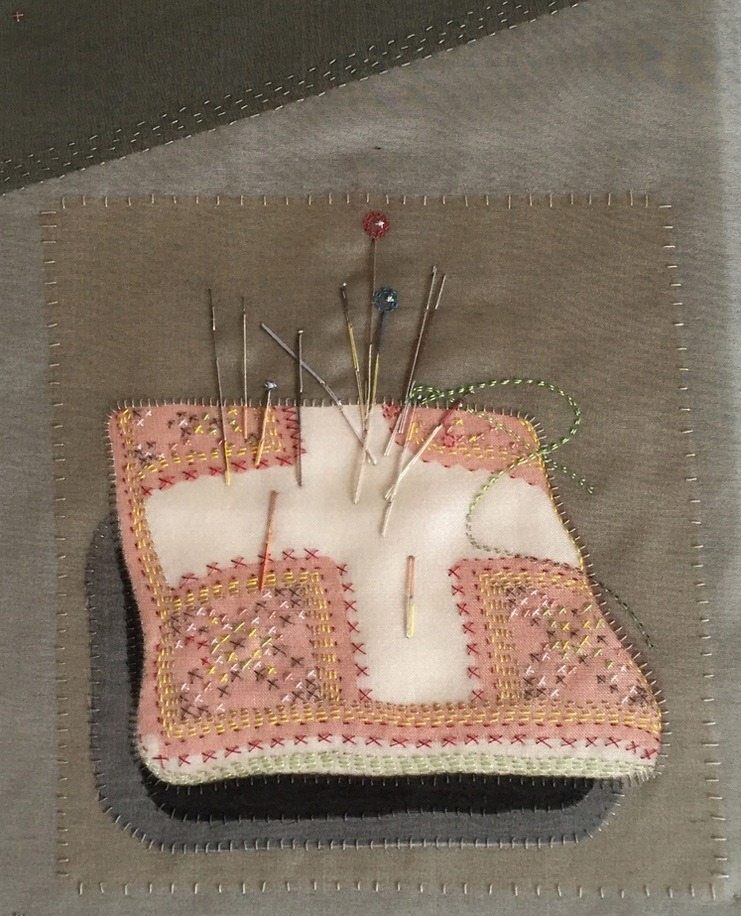
The notion to focus on a Maker’s tools versus their actual face came about whilst working on a collaborative project with Bridget Bailey. I was keen to make a portrait of her, but Bridget was reluctant. So, I started exploring the idea of depicting her through the tools in her workspace.
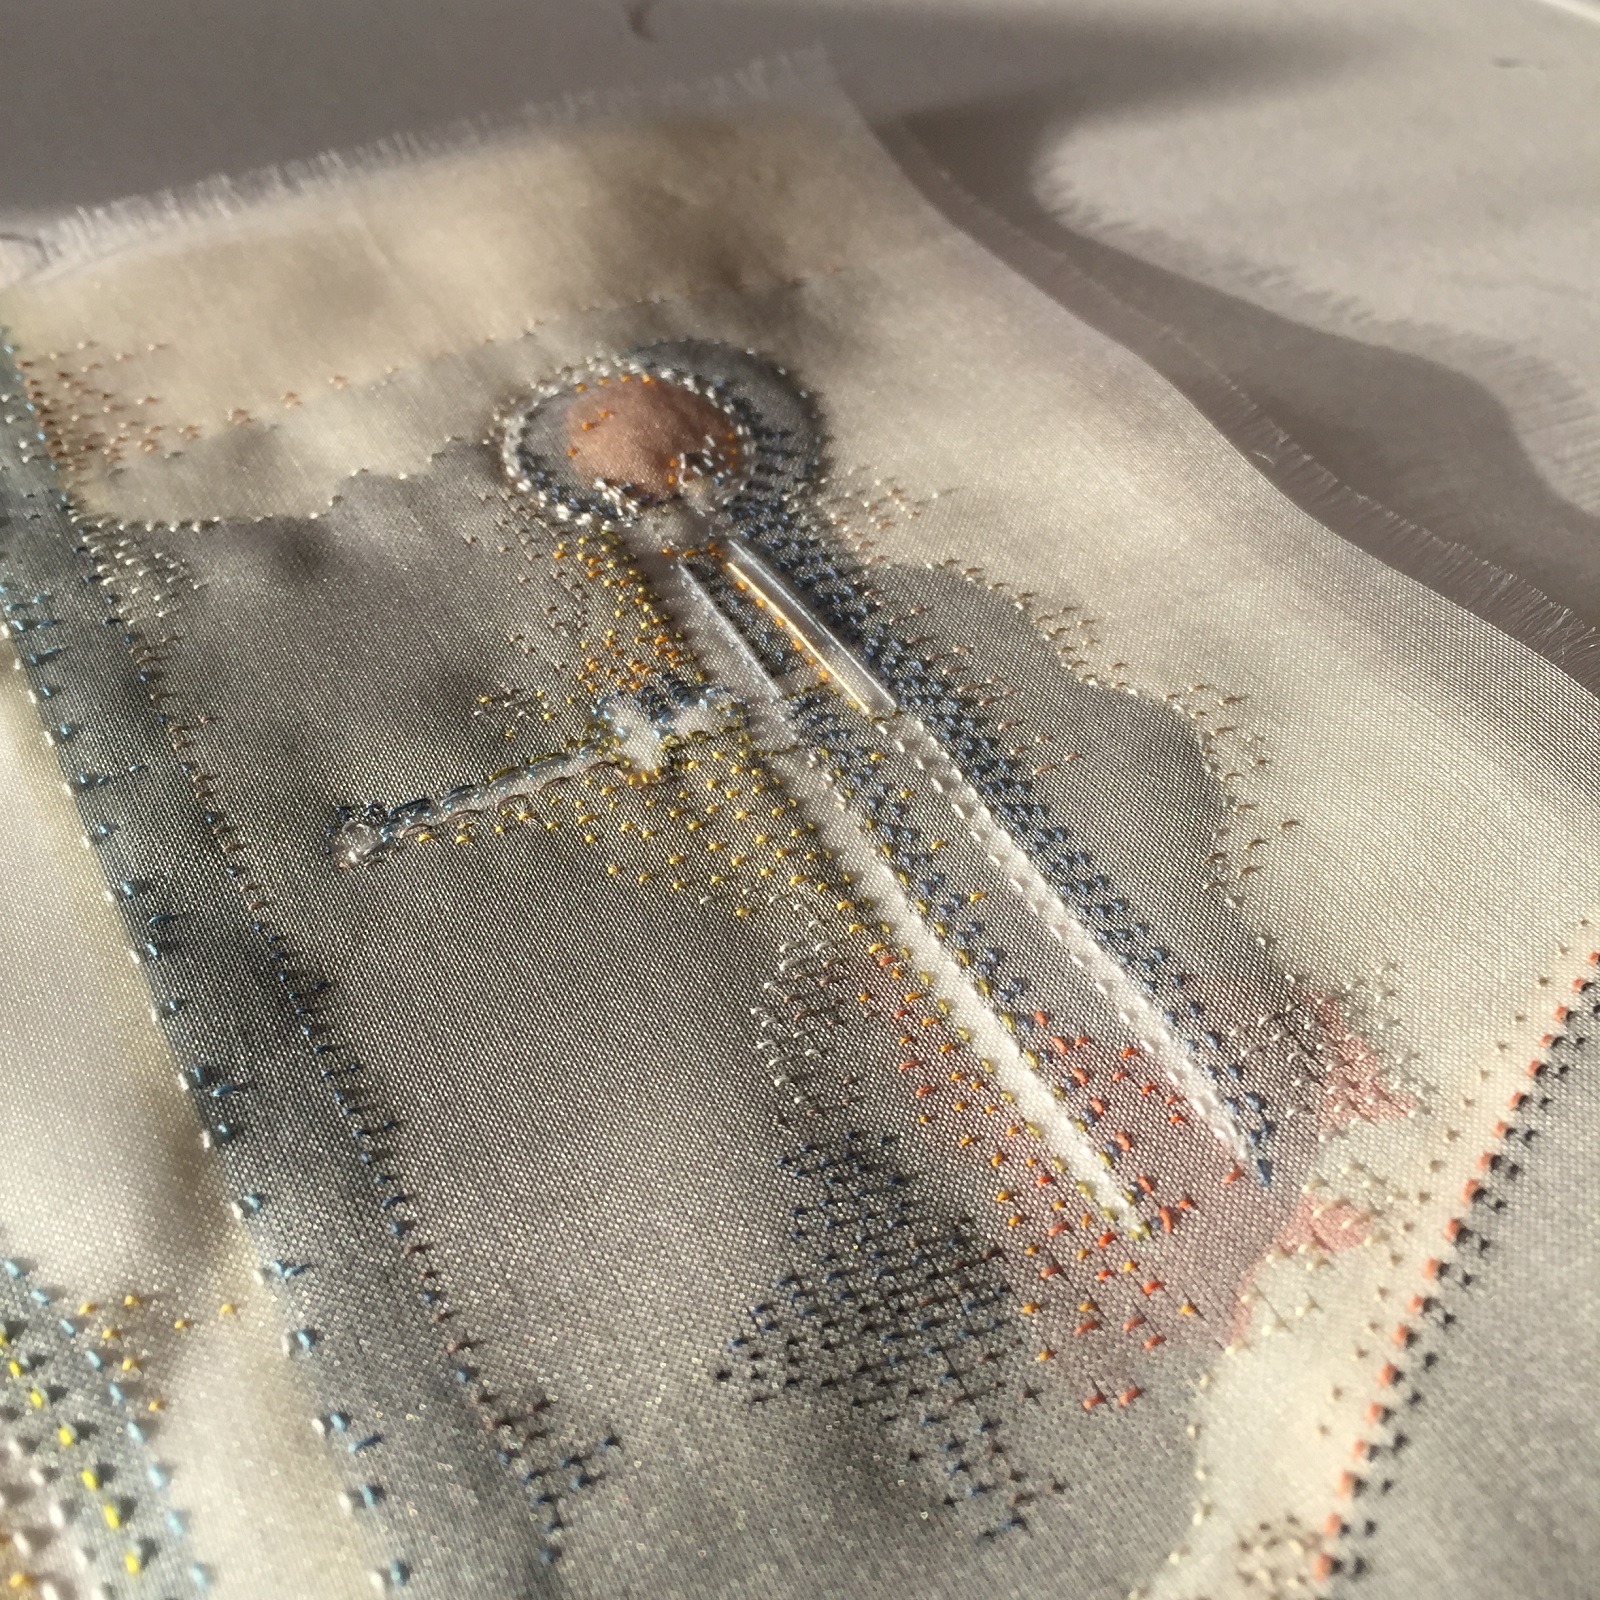
I ended up making ‘Pincushion’ portraits of us both. We used quite similar pincushions that are beautifully made in tiny needlepoint.
It was interesting representing stitch with stitch, but it was also intriguing to see how those portraits elevated the already-lovely objects.
What research did you do before you started to make?
There are so many makers in different industries and artistic communities to be celebrated across the country. And they have enormous skill, talent, creativity and knowledge.
I had to somehow narrow down my criteria, so I decided to start with contemporary Makers. I chose mostly local people who were specialists across a range of materials and whose skill and aesthetic I greatly admired.
Specifically, I chose Ane Christensen (metal worker), Maiko Dawson (shoemaker), Sebastian Cox (furniture maker), Michael Ruh (glass blower), Helen Beard (potter), Eleanor Pritchard (weaver) and Sarah Pulvertaft (jeweller).
Everyone was happy to be part of the project. Crafts people have a real connection with their tools, so maybe that made it less intimidating.
Beloved tools
Was there any other preparatory work?
When I visited each Maker to discuss their tools, I looked for striking images. I met them with no preconceived notions about which tools I would choose to feature. We instead just talked, and I took lots of photographs.
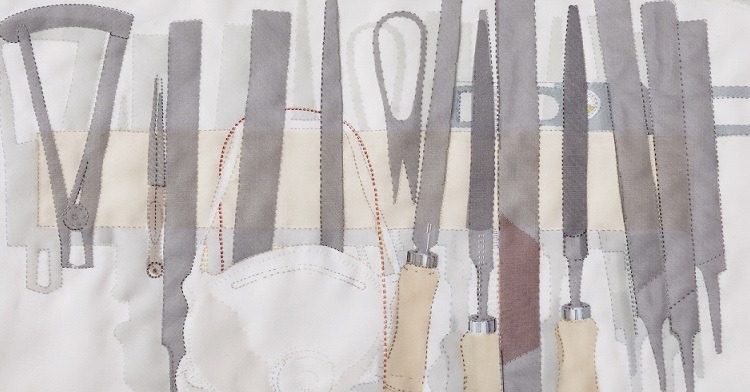
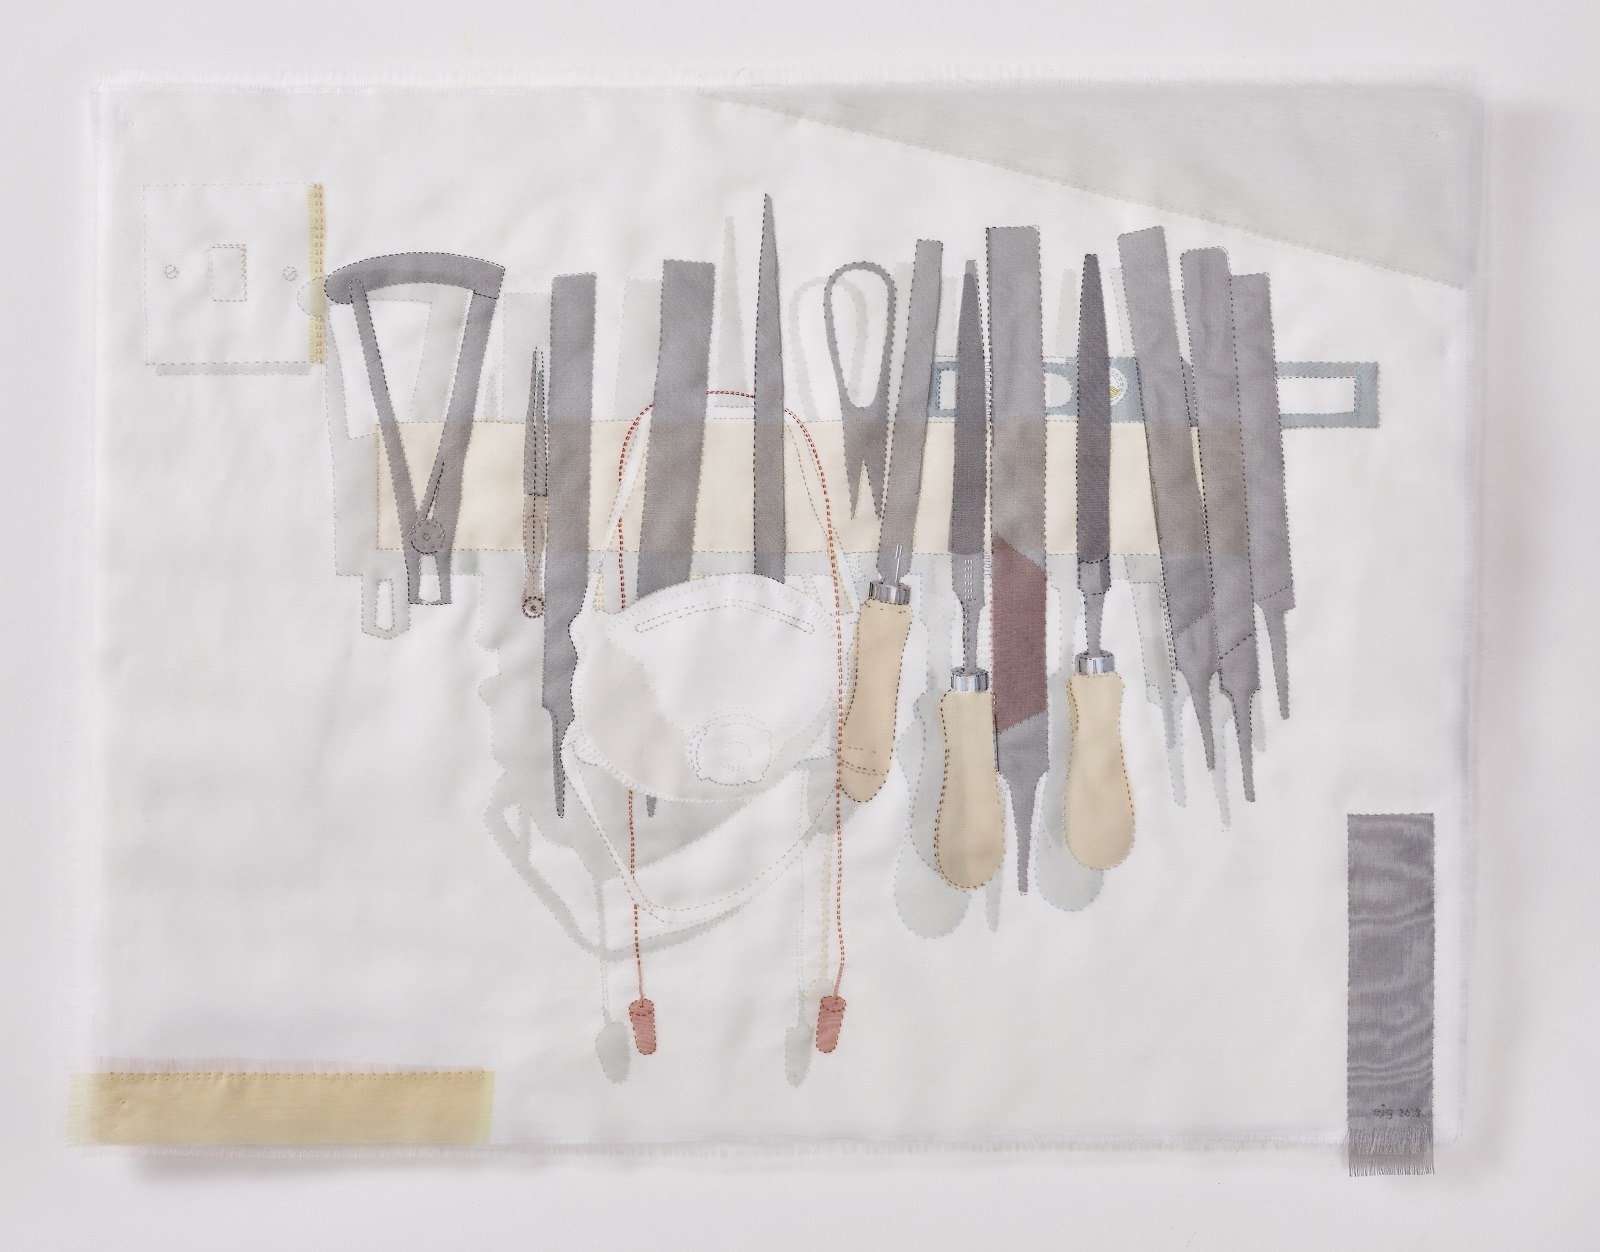
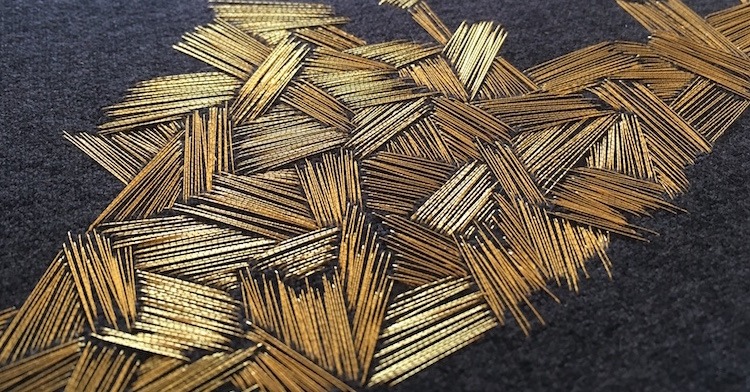
I first approached Ane Christensen (metal worker) who makes stunningly beautiful geometric sculptural forms that are pure, yet complex. I visited her at her Hackney studio, and I came away from that interview full of enthusiasm for my project. I appreciated her piercing saw (her go-to tool), but I was beguiled by her magnetic tool rack and simply had to depict that.
Sebastian was very clear he didn’t want his practice romanticized. So, even though he had many beautiful hand tools, he spoke more about his power tools. He also spoke at length about his computer numerical control (CNC) machine and the dynamics among skill, automation, material knowledge and computer programming. It was the perfect tool to feature.
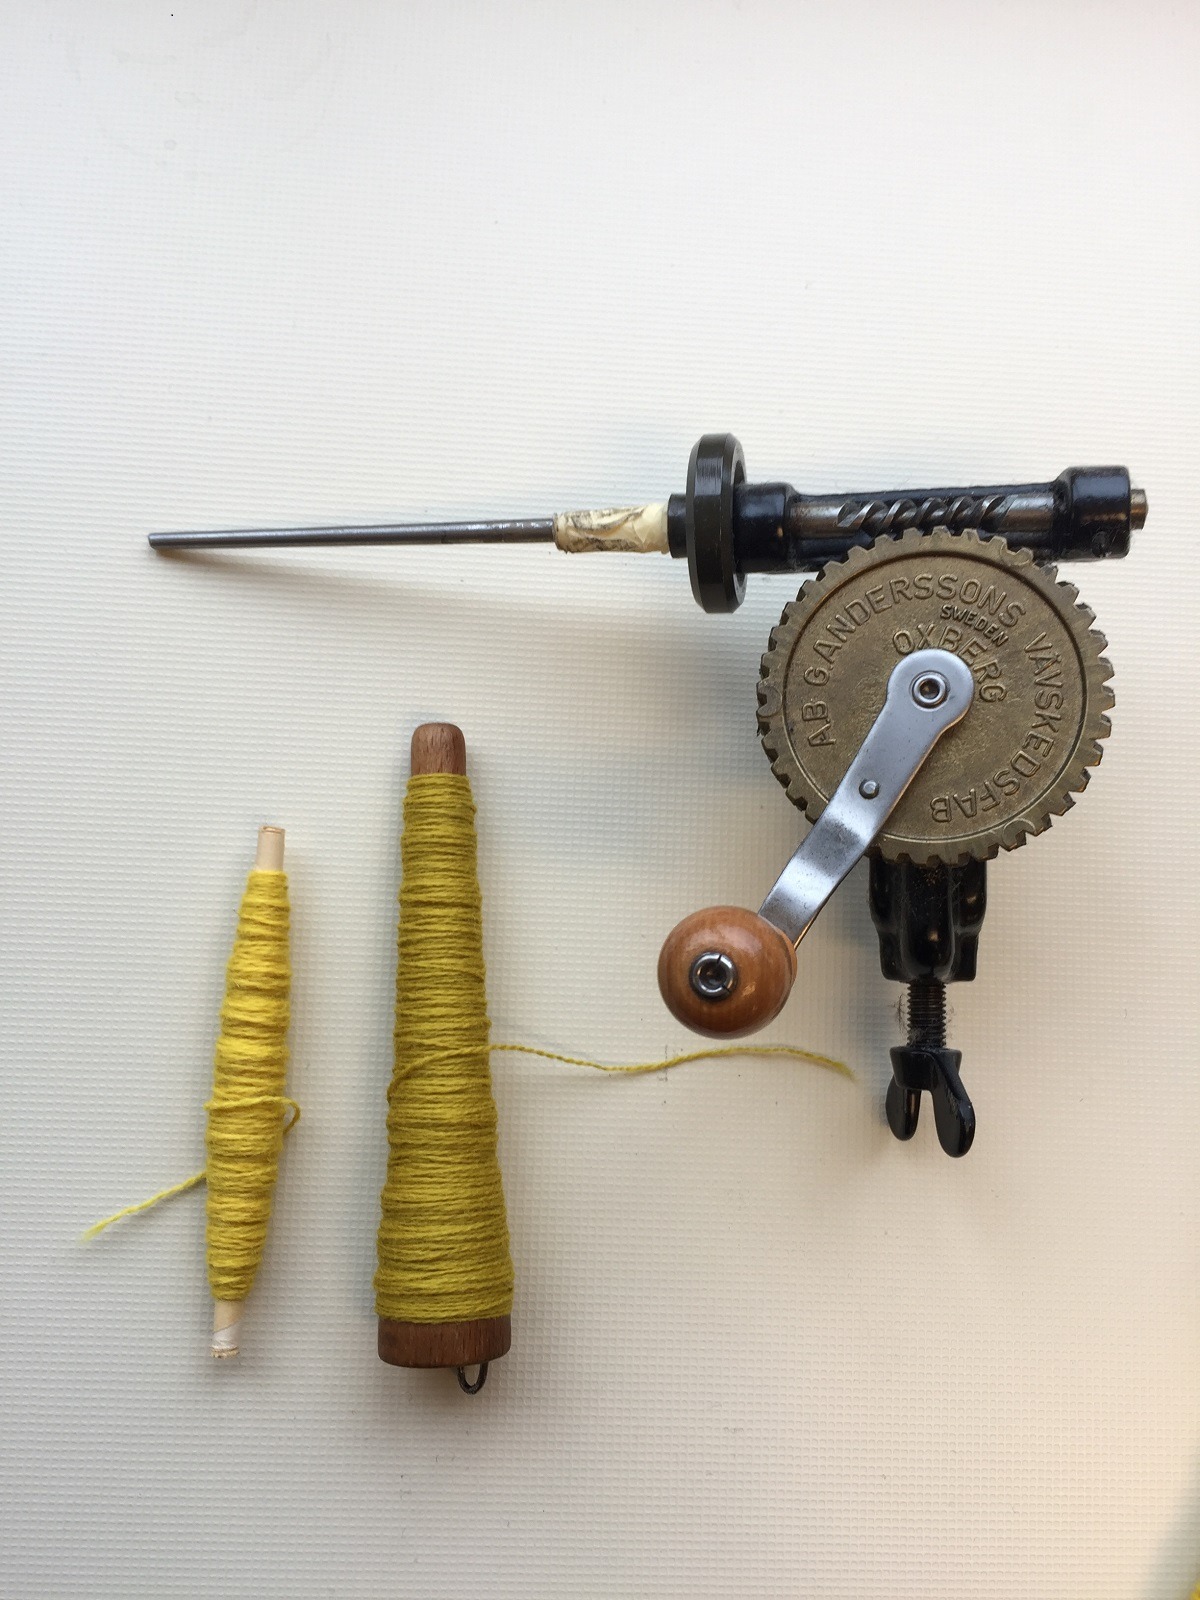
For reasons of scale, when I visited with weaver Eleanor Pritchard, I asked to see her smaller tools that she uses versus her large loom. I had no idea, however, I would come away with pictures of a calculator and beautiful little paper spools that had discoloured in the sun.
Helen Beard’s favourite tools were very modest bits of wire and sponge, but it was the porcelain slip covering that made everything in her studio so beautiful and different from the other works.
Sarah Pulvetaft had a set of scribes that were given to her by a dentist with beautiful machined handles. But they didn’t make as lovely shapes, so I went with the pliers and dividers.
It was fascinating going to each maker’s studio to talk about the tools they use. I learned so much more about their making process.
What materials were used in the creation of the piece? How did you select them? Where did you source them?
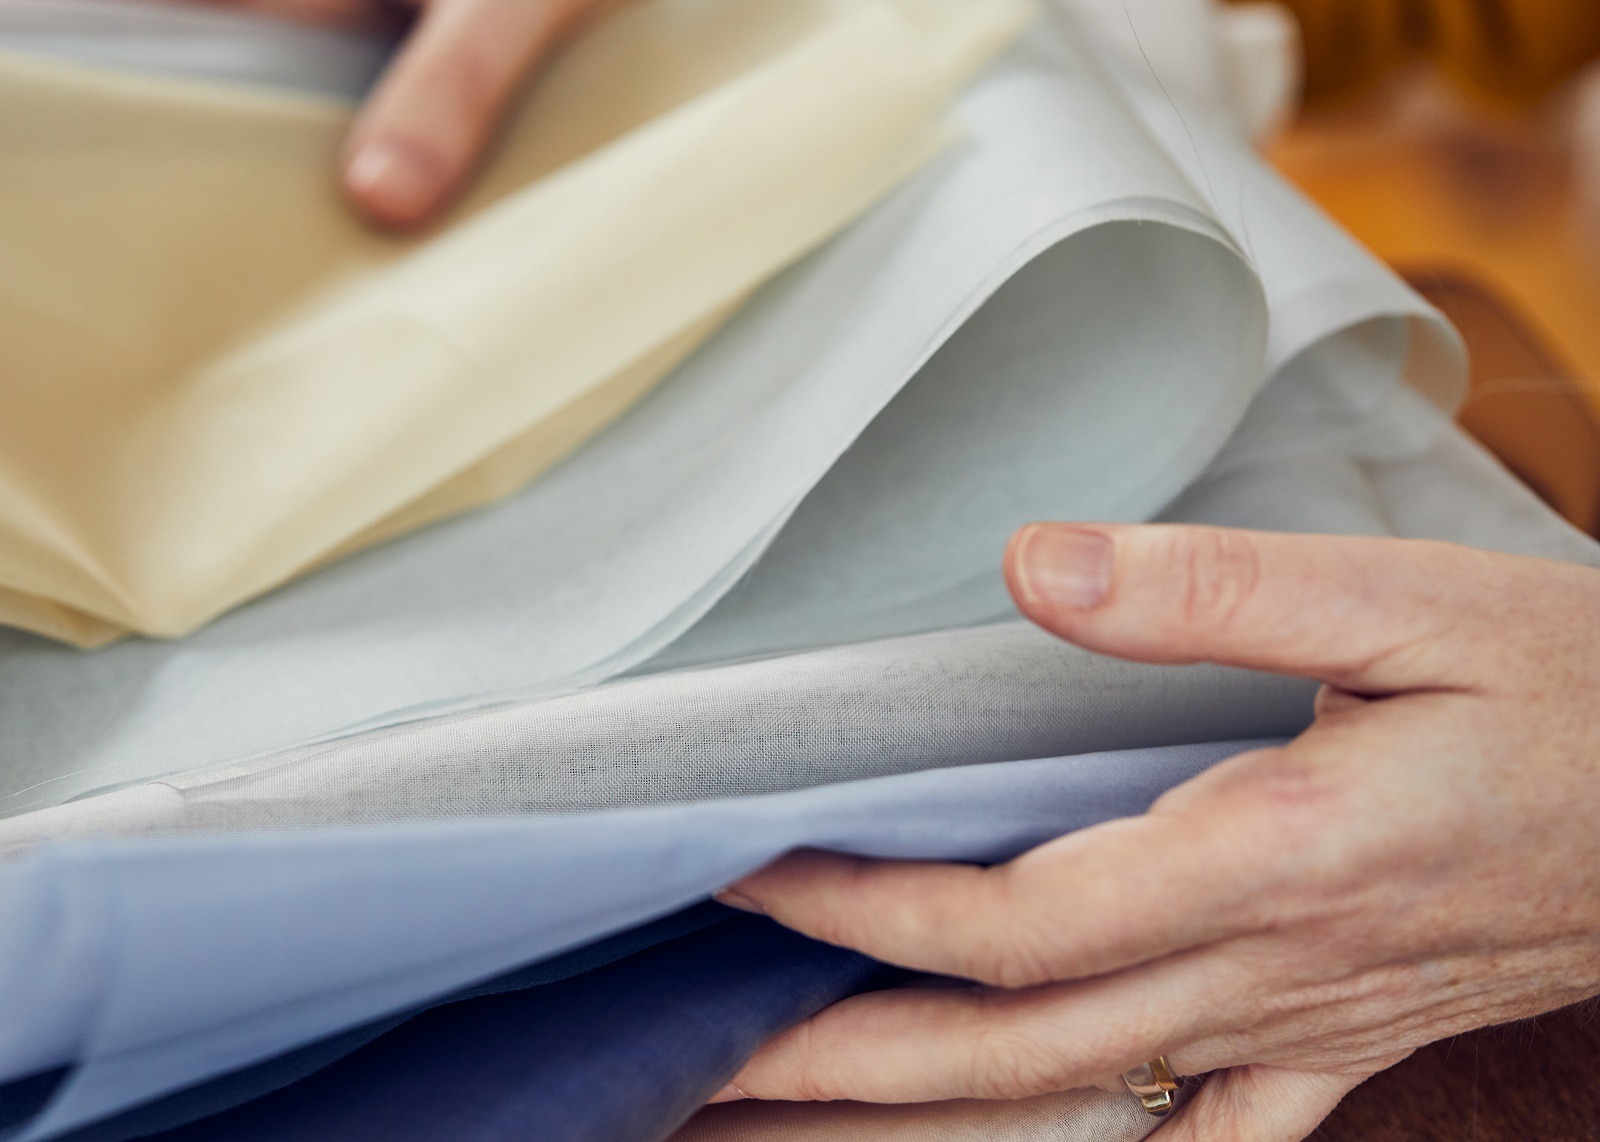
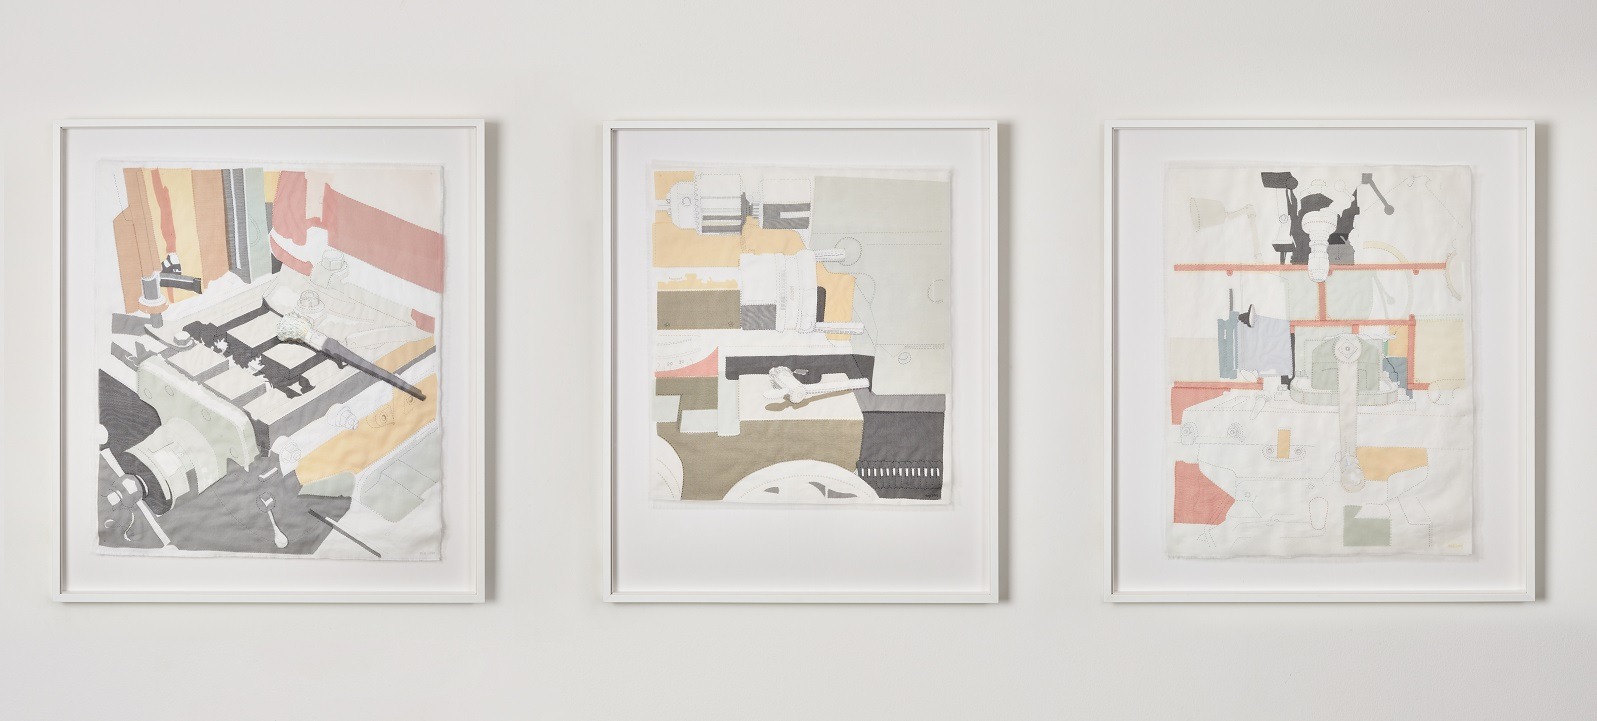
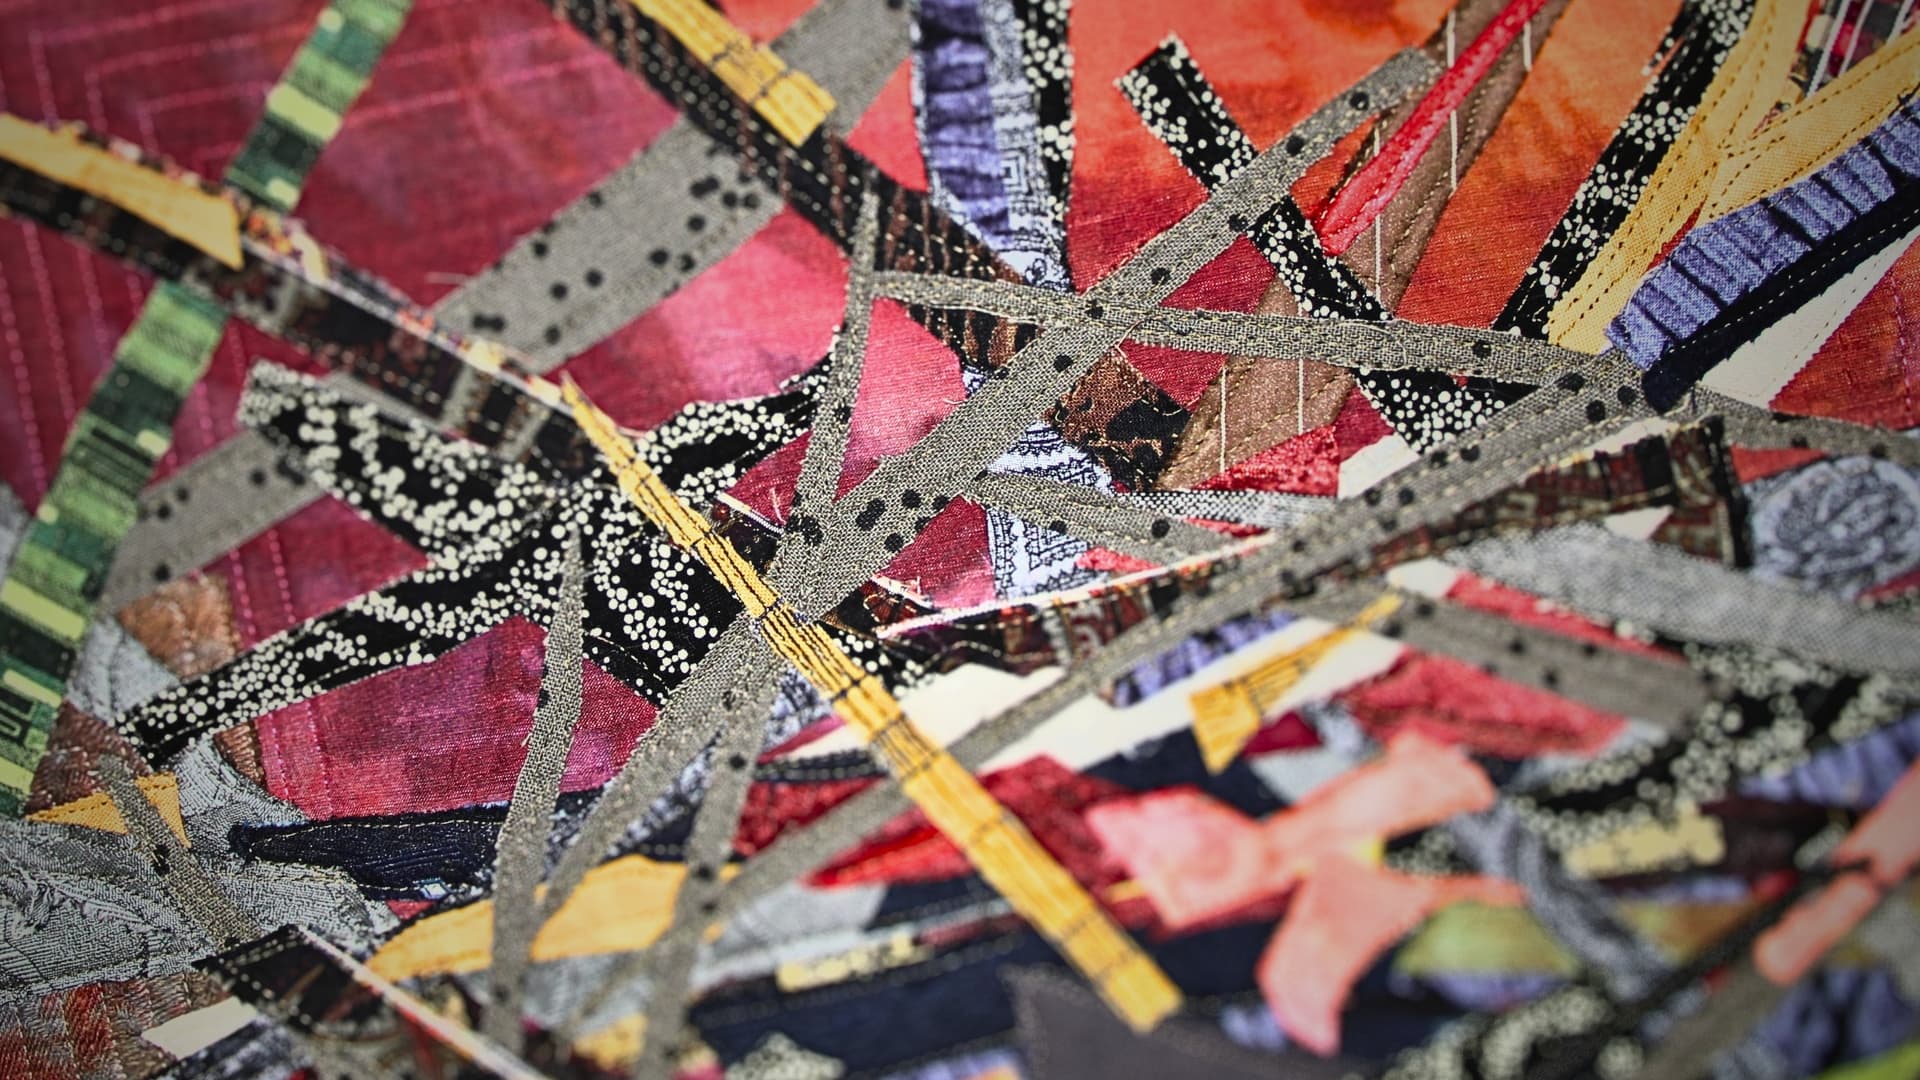
The work is made from silk organza in stock colours on a linen base. Then it is hand stitched with fine cotton thread.
The organza is actually a crisp material to work with, so I can cut really accurate shapes that lend themselves to the tool shapes.
I source my organza from several suppliers, including Pongees, Henry Bertrand and The Silk Route.
I based my colours on the actual tools but worked within quite a limited colour palette. I didn’t really colour match to the tool, but instead used the colours of the tool as a guide.
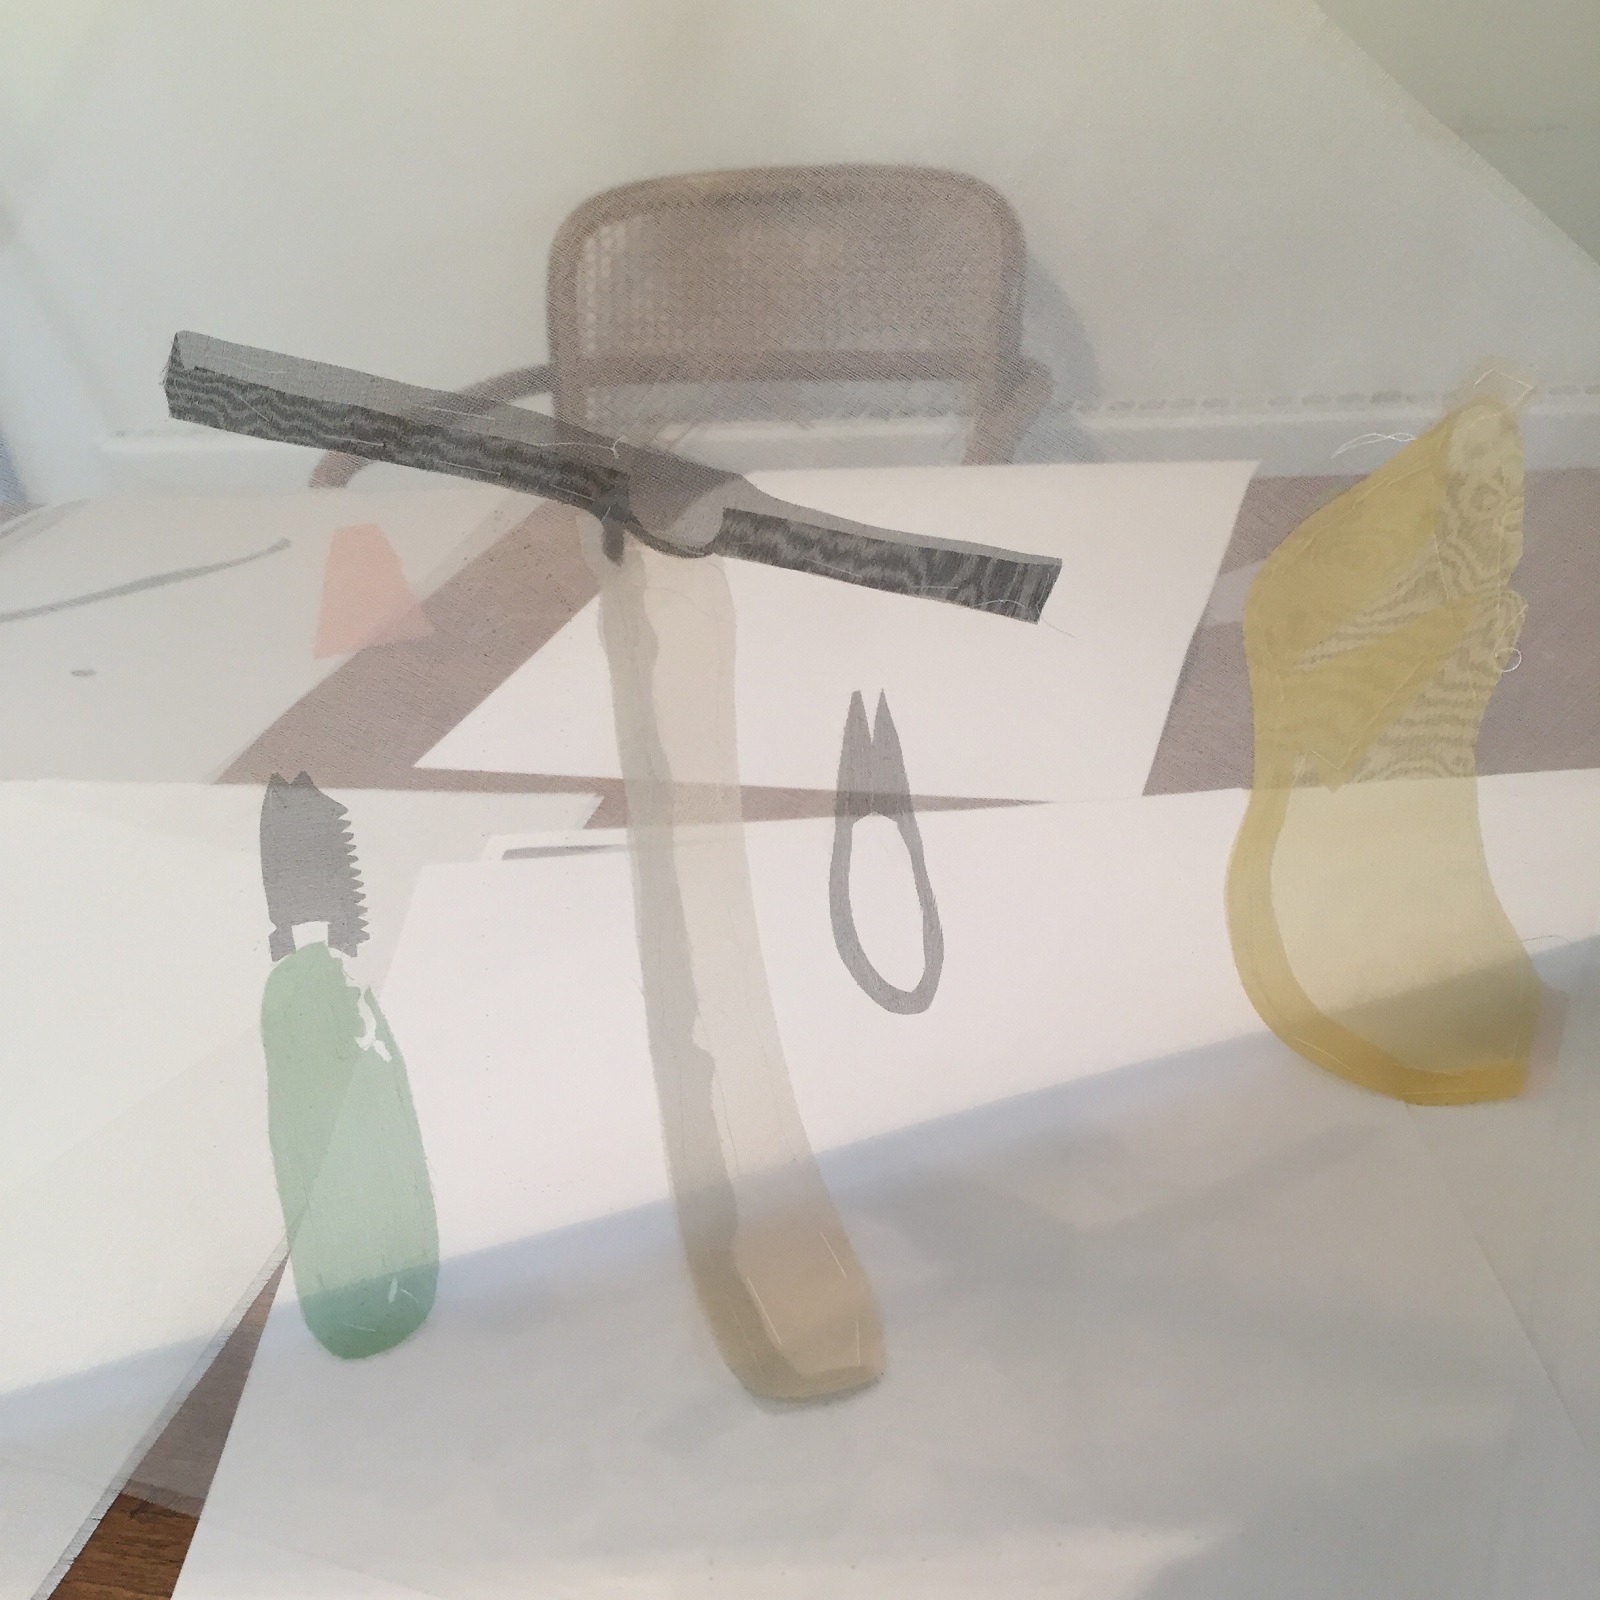
I love the juxtaposition of the soft and sheer fabrics being used to depict hard-working tools. I make my work with a great deal of care, and they take a long time. To that end, I think my techniques and materials reflect the care and respect the tools deserve.
Even Michael Ruh’s buckets used for dunking hot tools gave me the opportunity to turn the ordinary into something lovely.
I wish readers could see them in person.
What equipment did you use in the creation of the piece and how was it used?
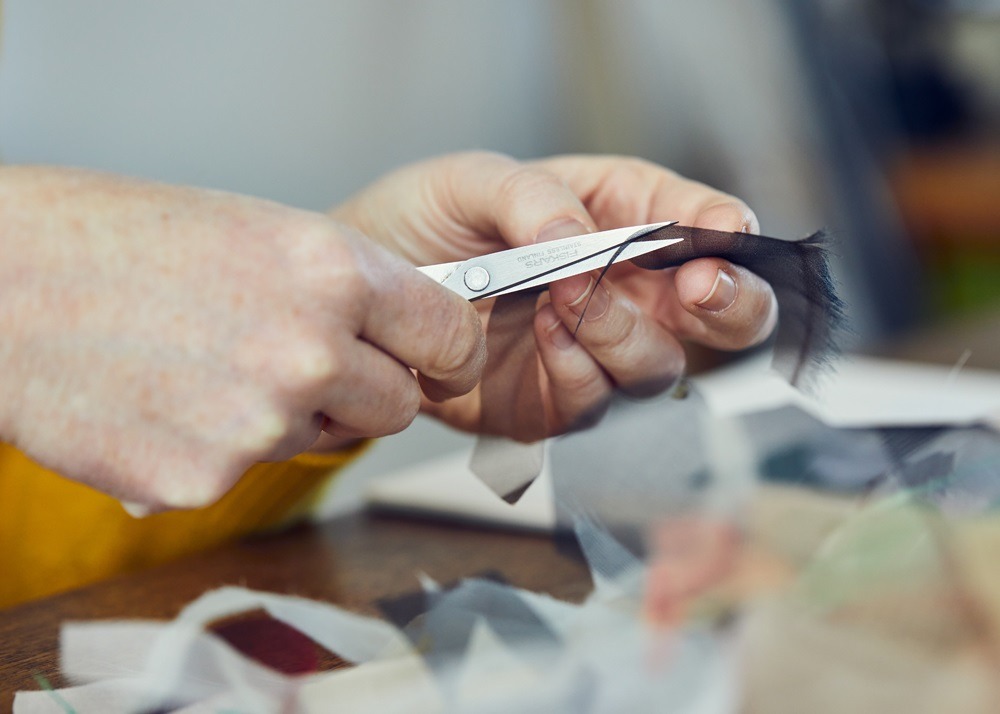
I use both a small and large pair of Fiskars scissors to cut the organza pieces. I pin a paper template to the organza, and then I cut the paper and organza together.
I also used a size 7 embroidery needle, dressmaker pins and an HB pencil.
Working with organza
Take us through the creation of the piece stage by stage
I spent a lot of time looking at my photographs and composing in my mind’s eye. I then made paper mockups and fiddled about with the scale and overall composition with scissors and sellotape.
There are often masses of tiny decisions to be made. Sometimes it is really clear to me what the colour palette and construction will be. Other times, particularly with large complex pieces, it takes ages to decide how the colours and pieces will build up and fit together. Sometimes I cut and lay up swathes of organza to get a sense of how it will look.
Once I have the composition in mind, I make a paper template to work from actual size, and then cut a piece of linen to the same size and fray the edges.
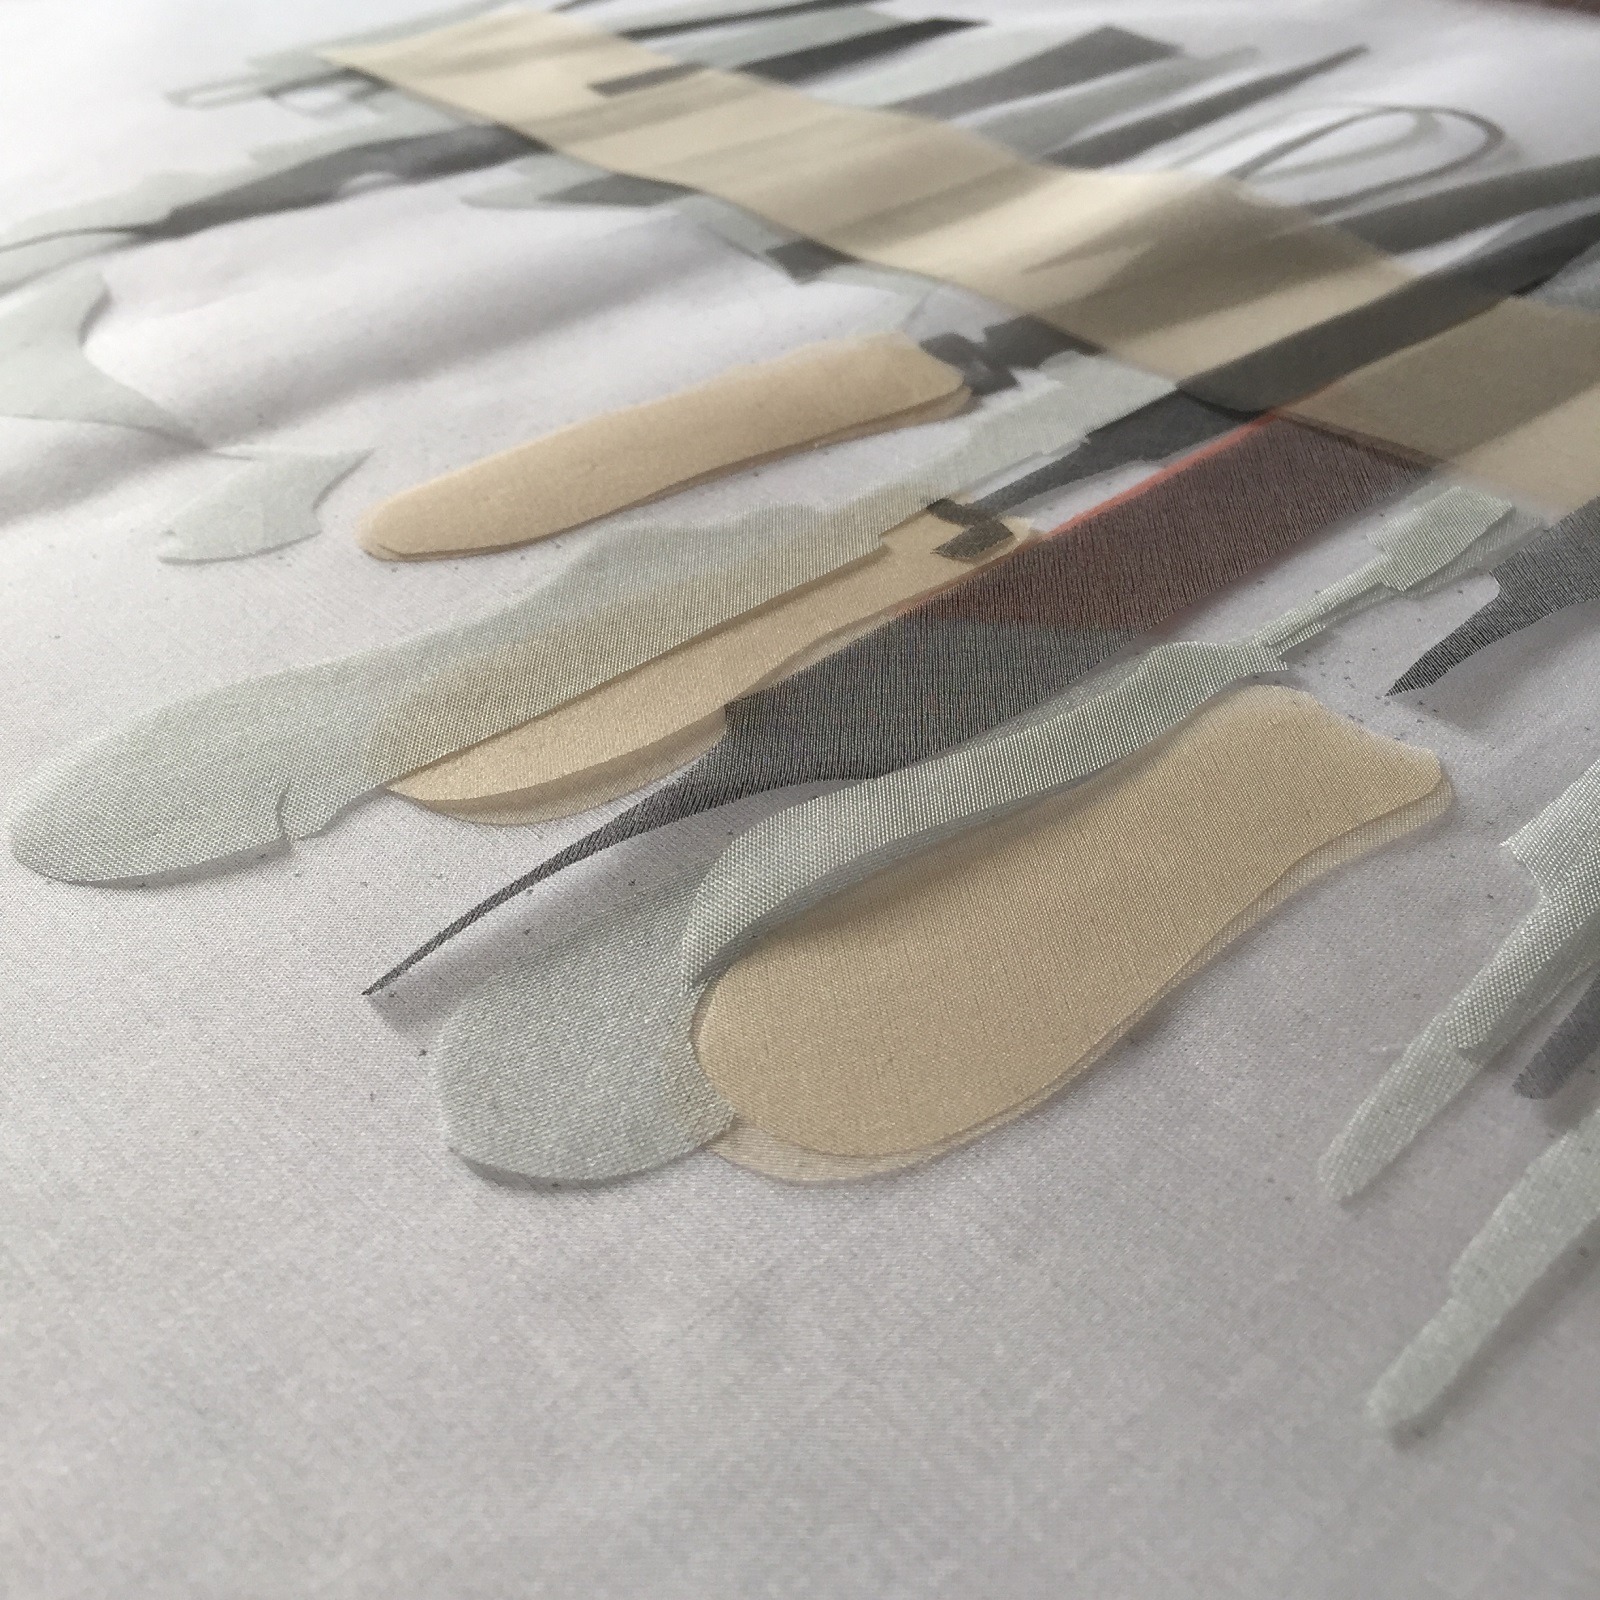
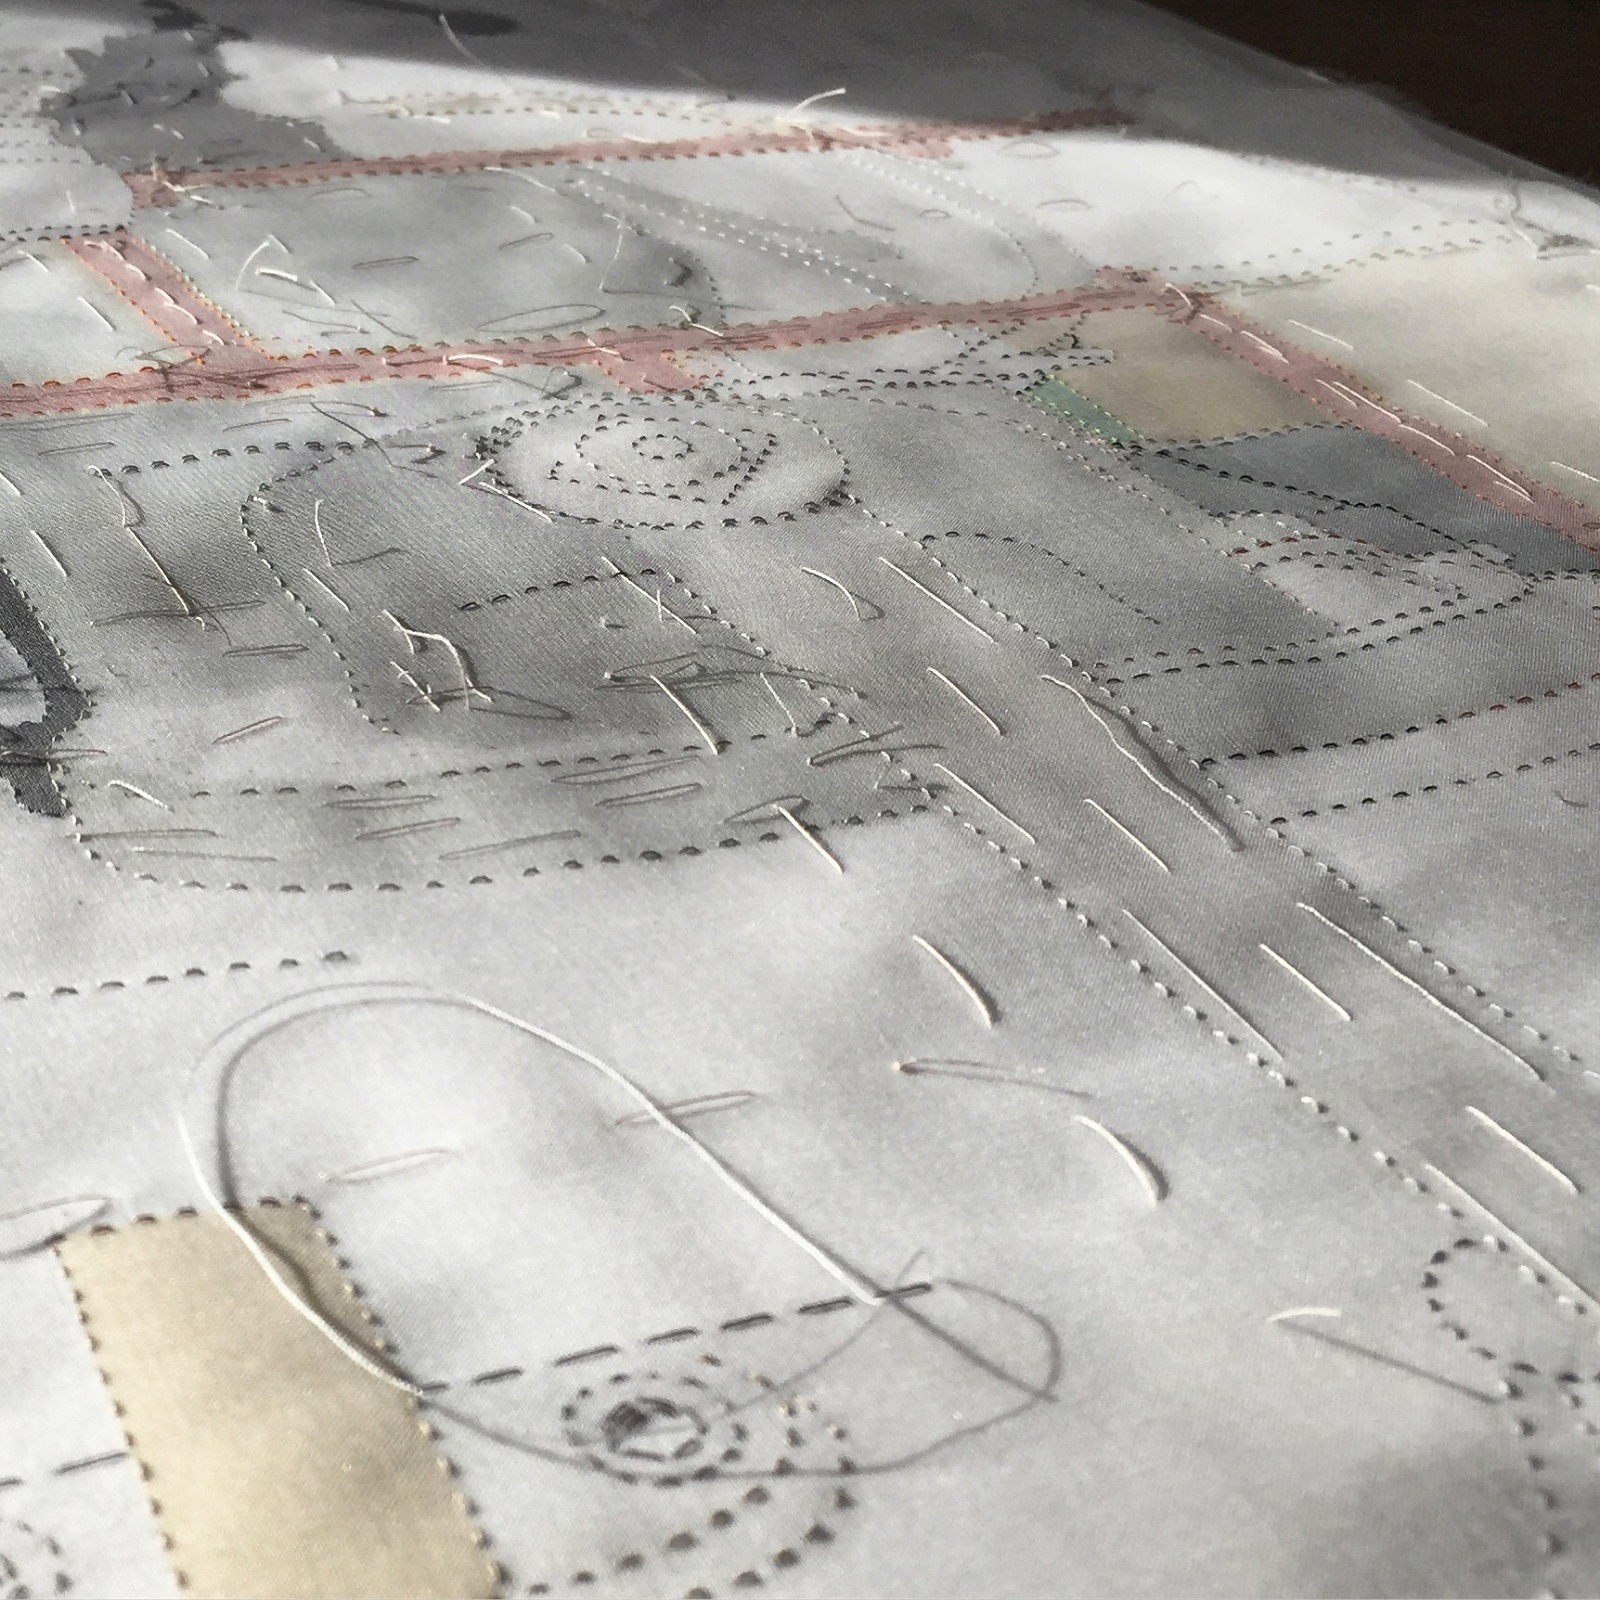
I then lay a piece of white silk organza over the template and dot the design with an HB pencil.
Next, I cut out the shapes in the design from pieces of organza, some of which may be a double or triple layer. I then pin and tack those organza pieces to the back of my white organza top layer.
I then lay that pinned/tacked organza layer over the linen base, so the small coloured organza pieces are trapped between the linen and top white organza layer.
Lastly, I pin and tack all layers together, so it is a stable sandwich! And then I stab stitch around the shapes, trapping them in pockets, so they don’t fray.
I pay close attention to my thread colour and use my template for colour and tonal reference.
When all the pieces are attached, I might use more stab stitch to emphasize an area or give it a little colour.
What journey has the piece been on since its creation?
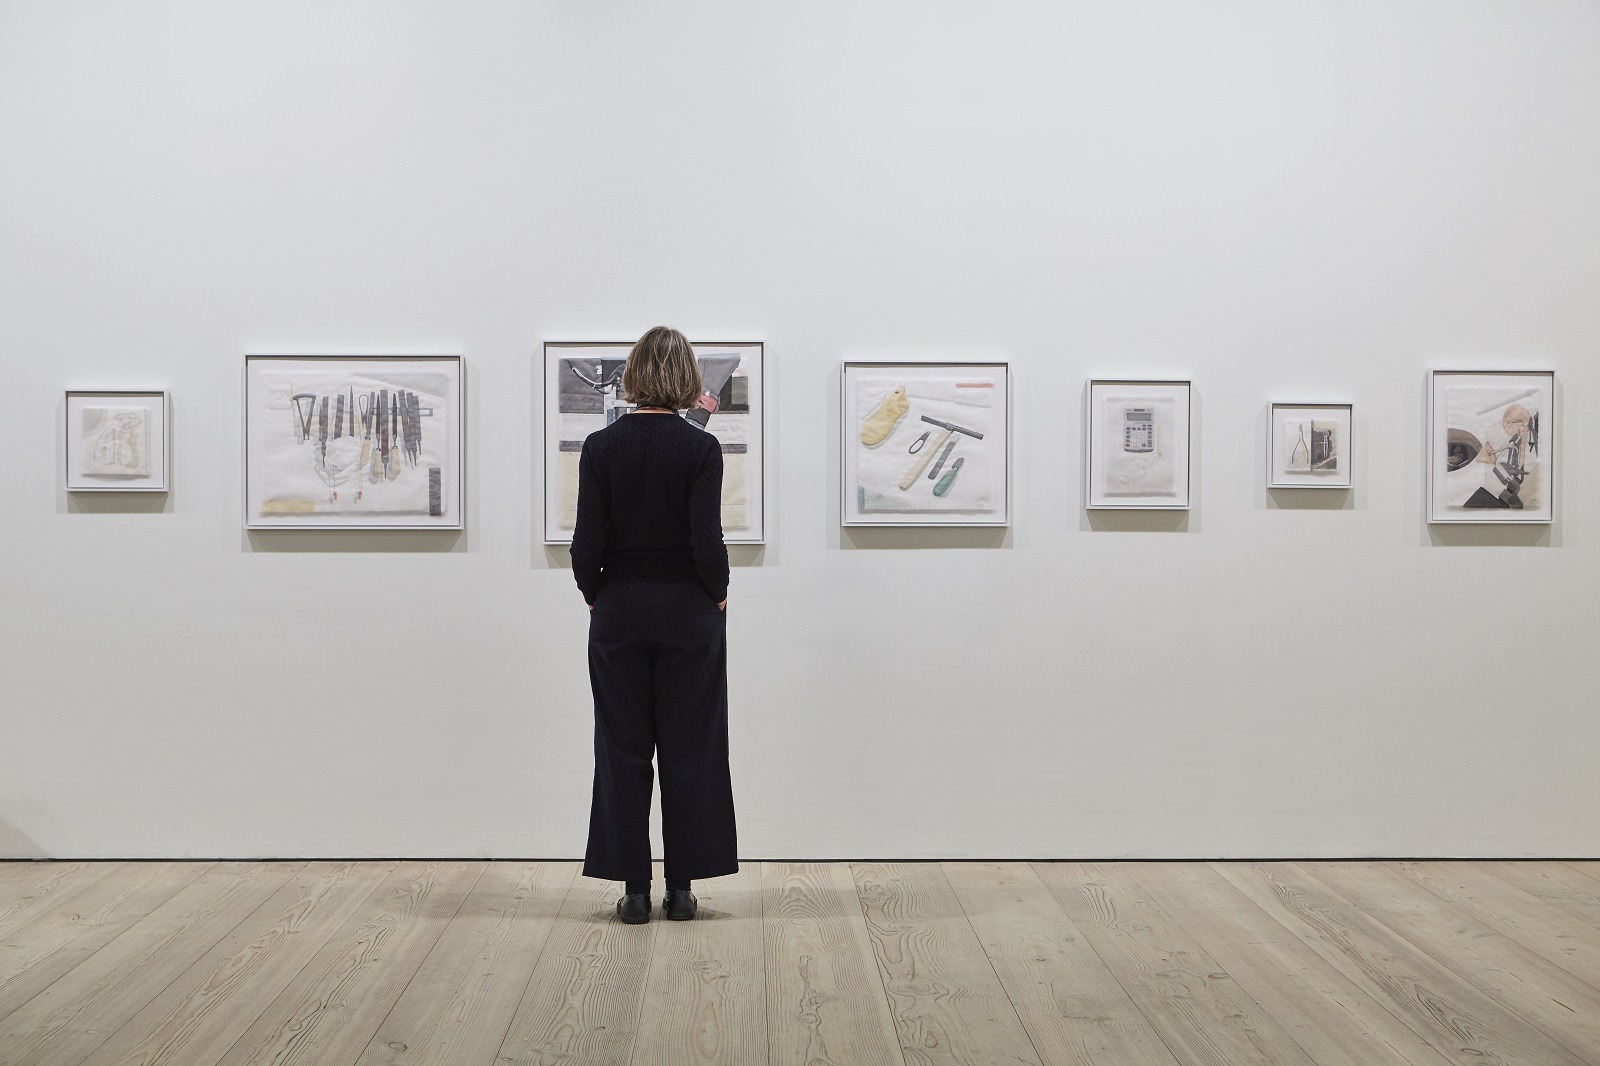
‘The Value of Making’ was first exhibited at Collect Open 2018. Since then, four of the pieces went to Mint Gallery and sold. The three remaining pieces were shown at MAC Birmingham as part of the 62 Group’s ‘Ctrl/Shift’ exhibition. They were then shown alongside work by all seven of the featured Makers at Contemporary Applied Arts.
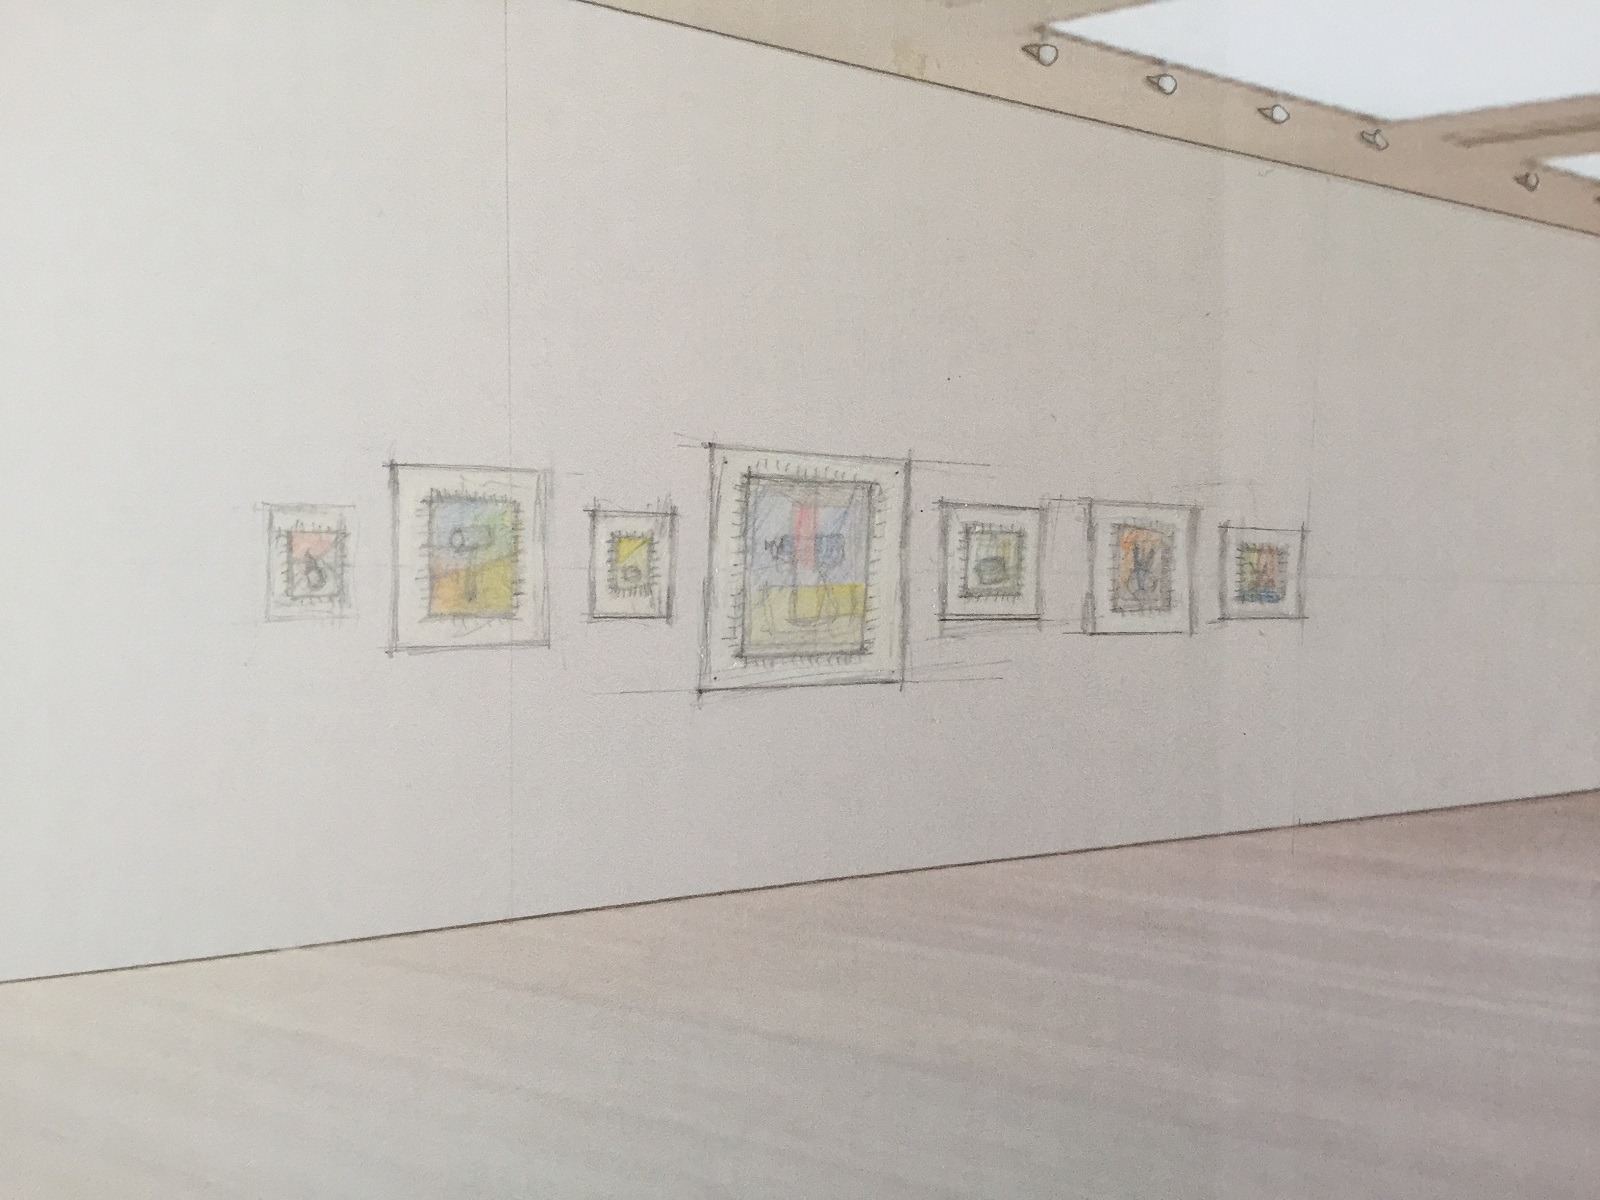
I carefully planned how the portraits would be displayed, both individually and as a group. I made a tiny scale image of each picture, so I could move them around and figure out the best arrangement.
I also paid careful attention to framing. For Collect, I framed them in glass which was lovely! But after that event, I reframed them behind UV glass, so they could be shown safely in a less invigilated space and not be damaged by light.
Mary Schoeser also interviewed me about this project for Selvedge Magazine, Issue 91.
Since this project, I have made a portrait of an Engineer. And for the British Textile Biennial, I made a Portrait of a Chinese Textile worker who works at one of the mills where I source my organza.
12 comments
Frances Ennis
What a wonderful read about this exquisite work on an early morning in NL, Canada. The birds eye view of making these portraits touched to the core. Thank you!
Aruna Mahajan
It is said that when you leave your comfort zone, you can do wonders. This is what Emily has shown us here. So creative and amazing idea and embroidery.
Aruna
Becky Dodds
Thanks so much for sharing your wonderful works with us!
Emily Jo Gibbs
Oh that is my pleasure Becky, I’m glad you enjoyed seeing my work.
MS WENDY EARLY
What a wonderfully effective but simple process.
Thanks for sharing.
I am completely inspired and looking forward to your forth-coming online workshop via TextileArtist.org xx
Emily Jo Gibbs
Thanks Wendy, I’m glad you feel inspired. Enjoy the Stitch Club workshop – see you there!
Jana
Exquisite work and a beautiful way to honor our makers. I am so glad someone thought to do this … it is a broad topic with room to grow and honor more makers. I send blessings on your work, Emily Jo Gibbs. May its beauty reach hearts far and wide.
Emily Jo Gibbs
Thank you Jana,
You are right it is a huge topic, inspiration everywhere.
rose
what wonderful installations, using the “soft” gauzy fabrics to depict “hard” tools. your eye for detail and accuracy is a beautiful thing to behold,and an inspiration to sewers everywhere.
Emily Jo Gibbs
Thanks Rose, I’m glad you found it inspiring!
Kerry Tomalin
Thank you so much for sharing this. The work is so respectful and a wonderful homage to makers. I really enjoyed seeing the work and reading about the process.
Emily Jo Gibbs
Thanks very much Kerry.