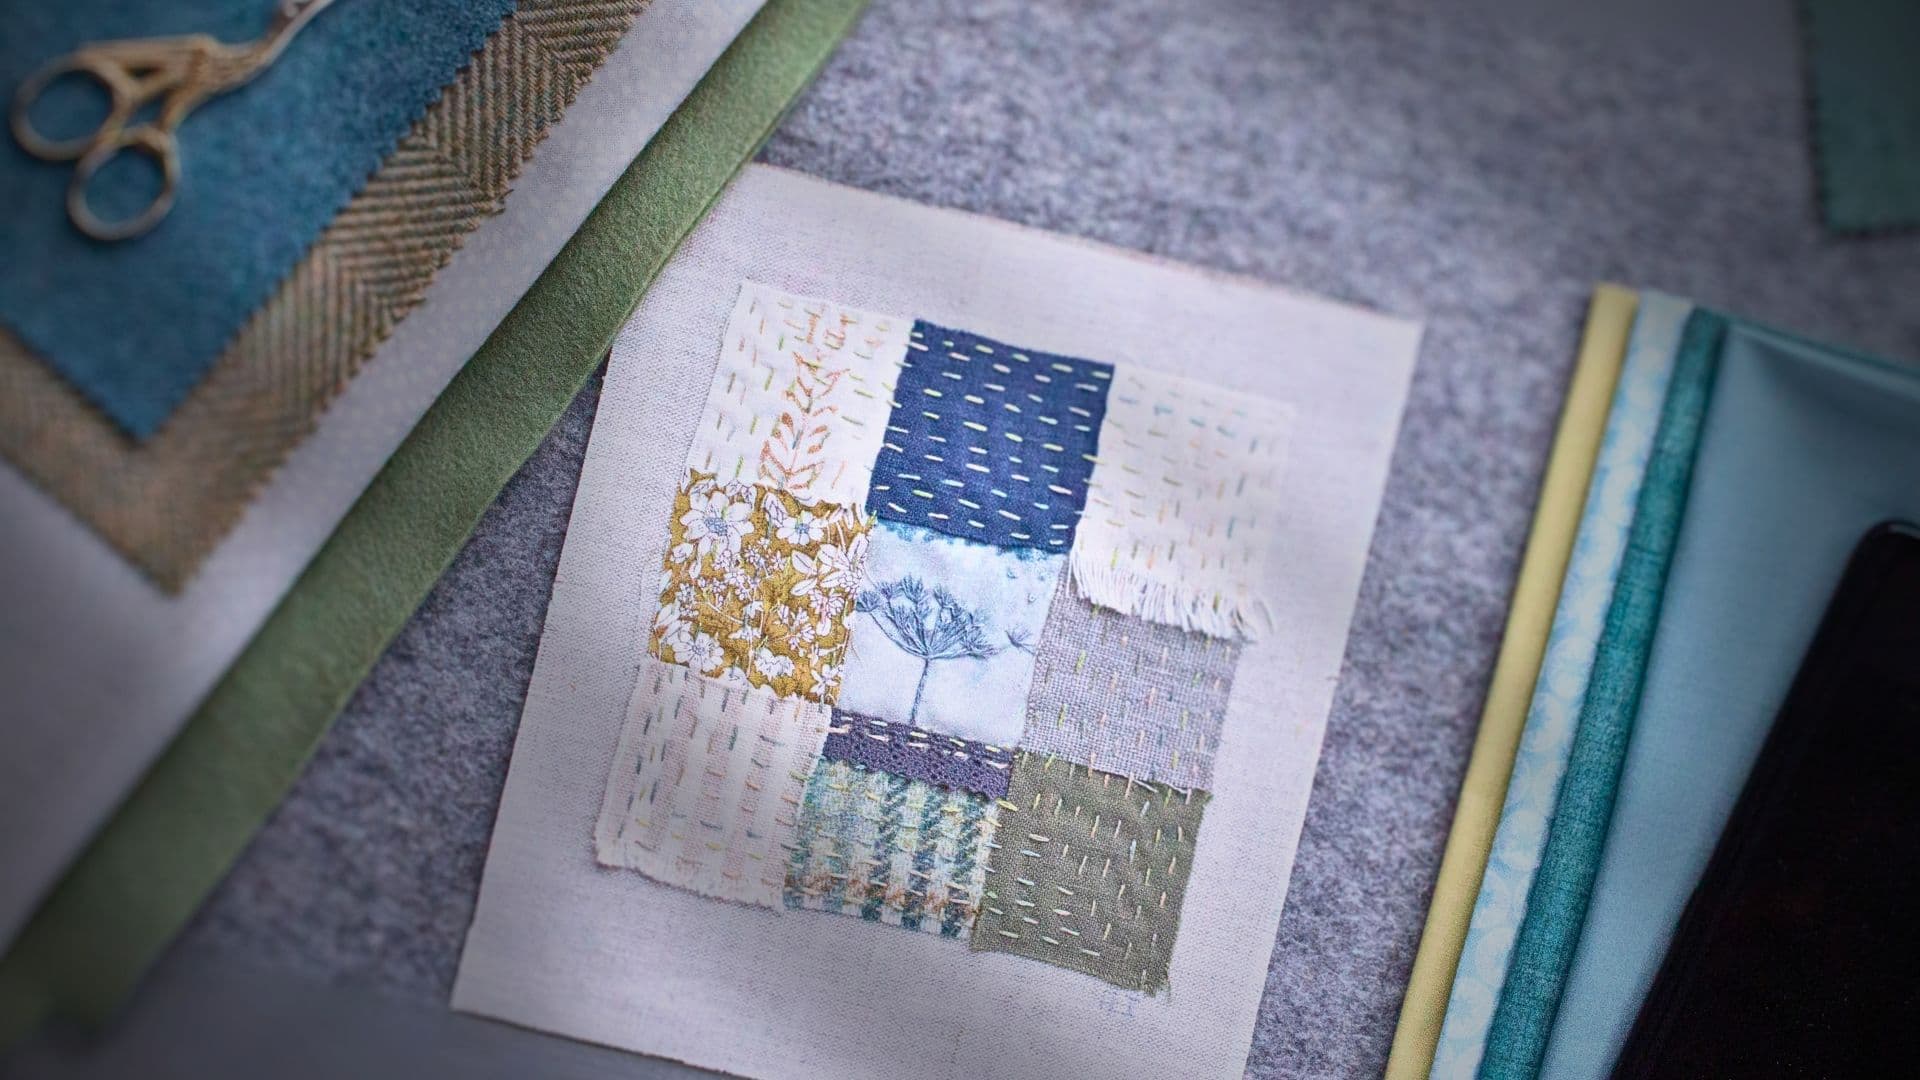
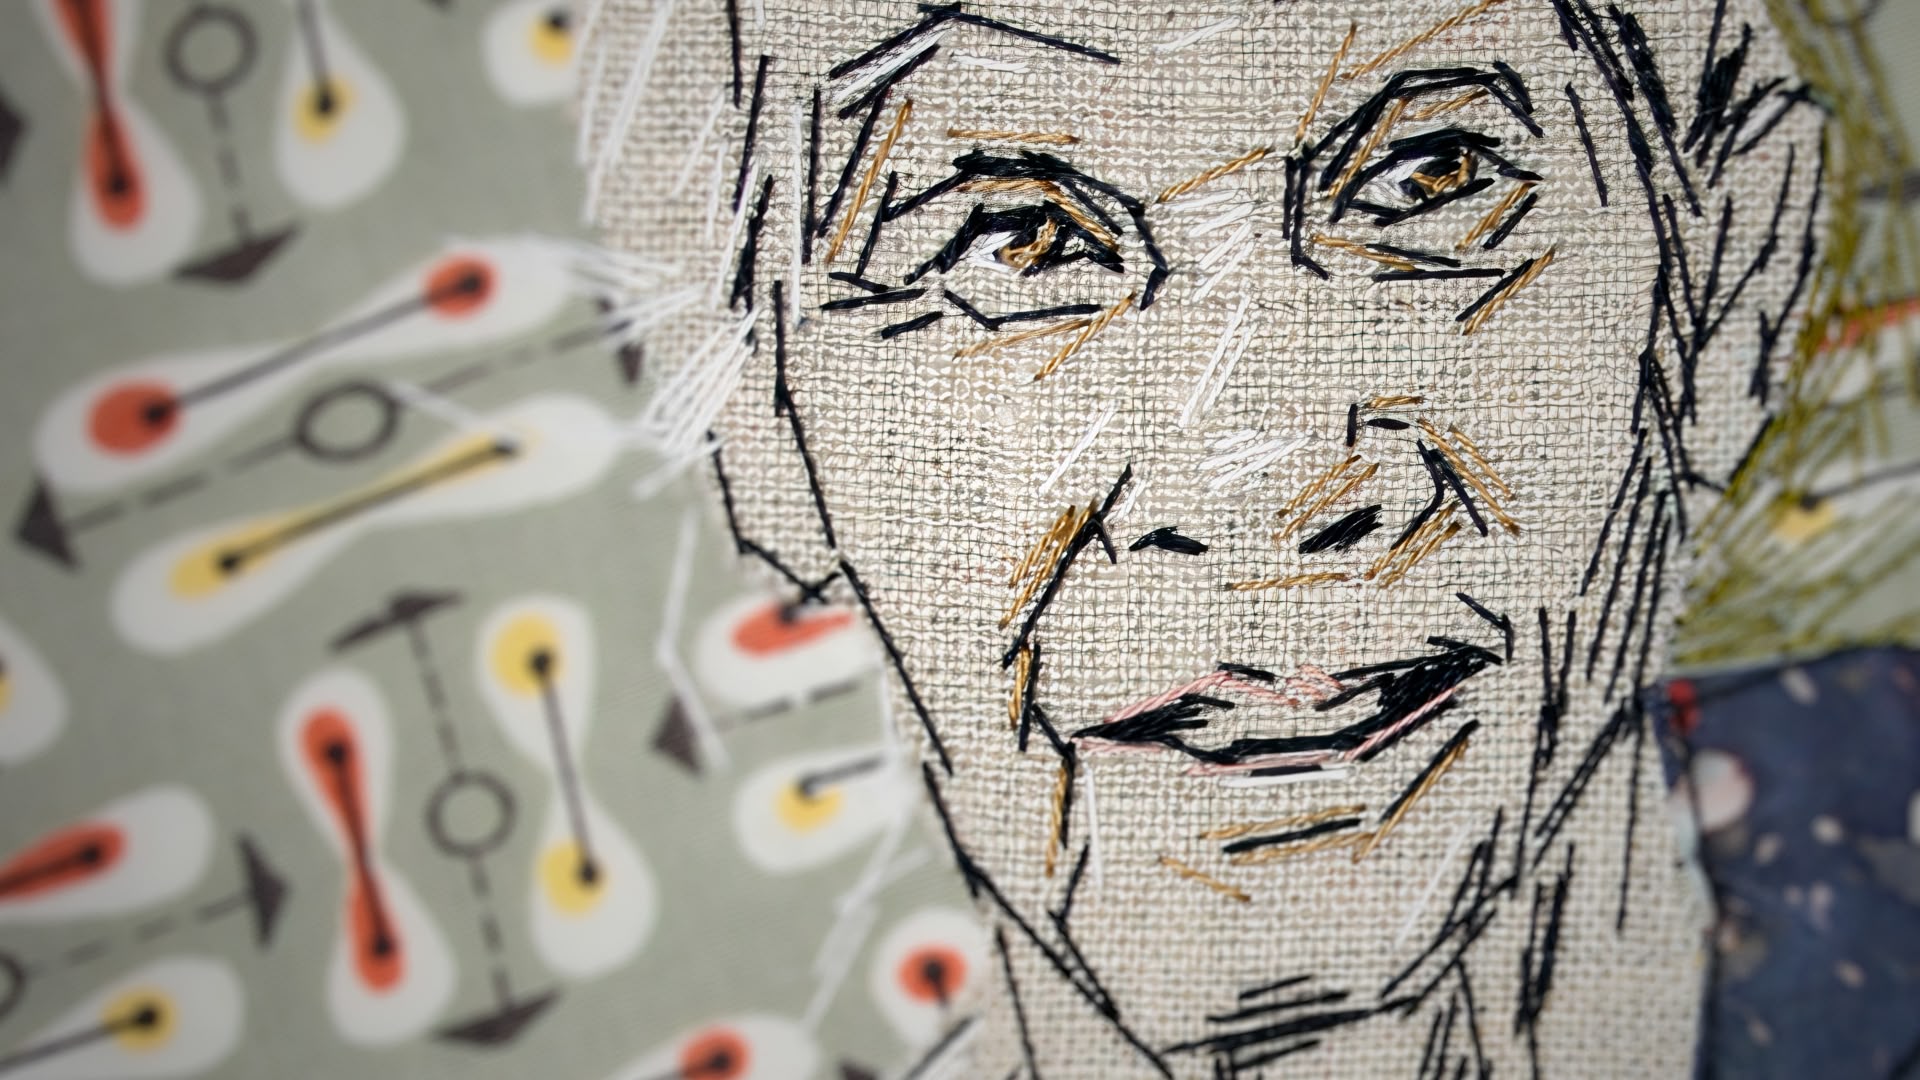
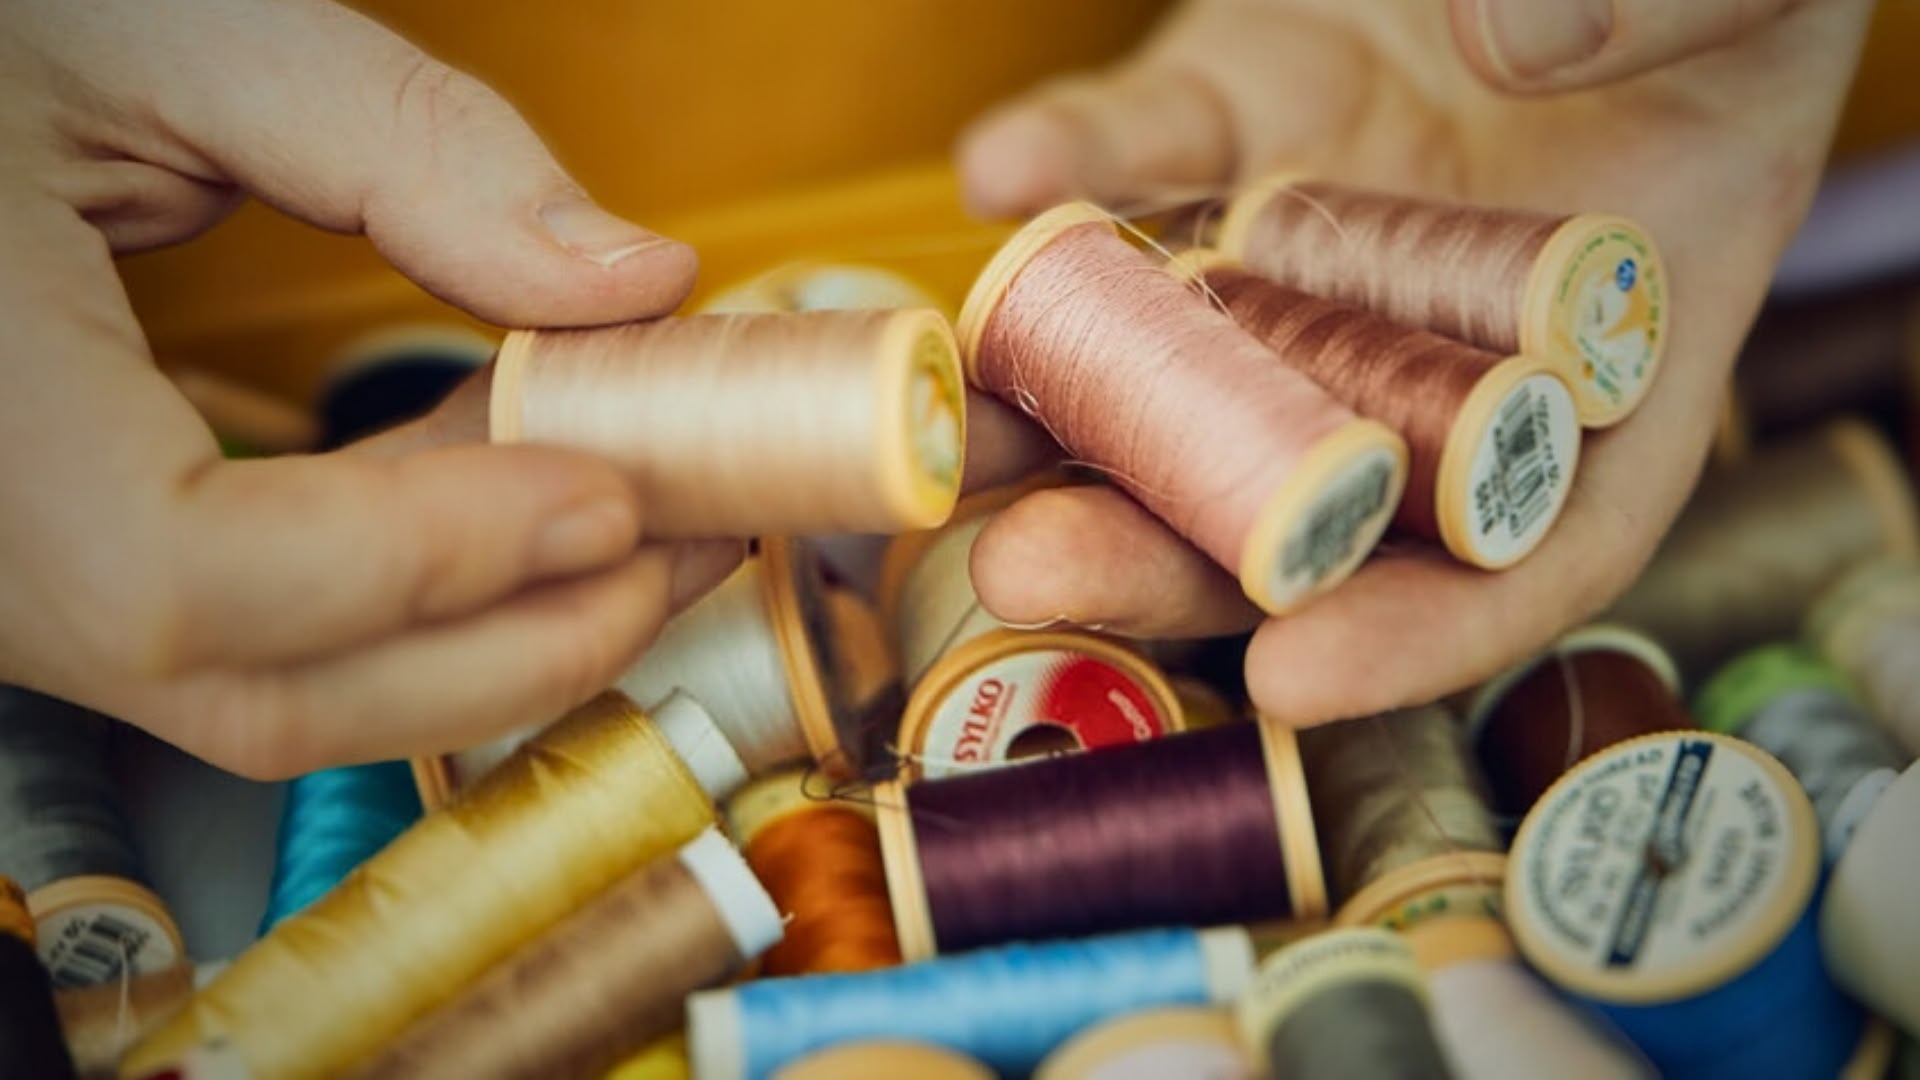
Setting up your Gallery pages
By the time you complete this tutorial, you’ll have a slick gallery of your work to present to visitors of your artist website.
The Klasik WordPress theme from ThemeForest.net (the theme we’ve been using throughout these tutorials) does come with its own built-in gallery, but it’s not great. For a more professional-looking gallery I advise that you purchase the plugin Justified Image Grid from Code Canyon.
What are plugins?
Plugins are tools that extend the functionality of WordPress; they offer custom functions and features so that each user can tailor their site to their specific needs. Basically, you may purchase a WordPress theme because it looks great, but it might not include certain functions you require, as is the case with the Klasik theme; in my opinion, the gallery that comes with this theme is inadequate for the needs of an artist wishing to project a professional image.
What is the Justified Image Grid?
The Justified Image Grid is a plugin that allows you to display images of your artwork in a beautiful grid. Each image is clickable and enlarges in its own pop-up window when clicked on.
OK, hopefully I’ve convinced you that the Justified Image Grid is a good investment! It only costs $29 (at the current exchange rate around £17.50). Click here to be taken to the Plugin site to find out more about the Justified Image Grid.
How to install the Justified Image Grid plugin
1. Once you have purchased the Justified Image Grid, download it to your computer.
2. From the WordPress dashboard, go to Plugins>Add New.
3. Click on ‘Upload’ in the top menu.
4. Click on ‘Choose File’.
5. Within the folder you downloaded from Code Canyon is a file named ‘justified-image-grid.zip’. Double click on that file.
6. Click on ‘Install Now’.
7. Click on ‘Activate Plugin’.
So now you have installed ‘Justified Image Grid’ what next?
Creating the Gallery pages
How many gallery pages you have will depend on how many sections you’d like your Gallery to be divided into. If you work in 3 specific disciplines for example, it would make sense for each discipline to have its own gallery page. You may need many more, but the process is exactly the same when creating each gallery.
1. Start by creating a new page by going to your WordPress dashboard and clicking Pages>Add New.
2. Give the page a name (this should be the name of this particular gallery).
3. From the ‘Template’ drop down menu, select ‘About’. We are using this template as the default template has a sidebar which we don’t want.
4. You now need to add the Justified Image Grid short code. This code will tell WordPress how to display the images in your gallery. There are many options and variations available with Justified Image Grid. For DarenRedman.com I went for a simple, streamlined look, in order that the art should stand out.
If you are happy to have a gallery that looks like the ones at DarenRedman.com, all you need to do is copy the following code and paste it into the text area:
[justified_image_grid preset=15 ids=”235,230,231,228,232,229,233,227″ row_height=300 link_title_field=caption img_alt_field=off prettyphoto_social=no prettyphoto_theme=pp_default download_link=no caption=fade mobile_caption=same overlay=off mobile_overlay=off overlay_icon=off lightbox_max_size=full width_mode=fixed-desktop disable_cropping=yes developer_link=hide]
If you would prefer to play around with the settings yourself to give the gallery a more unique look, you’ll need to do a bit more work. Here’s a link to an excellent video tutorial from the makers of Justified Image Grid; go to the video now.
Be aware that there won’t be anything in the gallery yet as you haven’t added any images.
5. Once you have your code in place, it’s time to upload your images. Preparation of your images beforehand so that they are not too large (in order that they won’t take an age to load) is essential. See Preparing Images for your Website.
Click on ‘Add Media’.
6. Click on ‘Create Gallery’.
7. Click on ‘Upload files’.
8. If you followed the instructions in the earlier tutorial Preparing Text and Images for your Website you should have separate folders ready with the appropriate images. Find the set of images you wish to upload to this particular gallery page and select them all. Drag and drop them into the WordPress Media Uploader.
9. All of the images you have just uploaded will now appear with their checkboxes marked. Simply click ‘Create new gallery’.
10. It’s now time to edit the gallery to your liking. Drag the images into your preferred order for them. Then, select each image one by one and give them a simple title and a caption. You can also add a description if you so wish – this will display when the image is clicked on and enlarged.
11. Next click ‘Insert gallery’.
12. We now need to tell Justified Image Grid to display the gallery you’ve just created. Click on the ‘Text’ tab to see the code for the gallery in the text editor.
13. Find the last piece of code (which refers to the gallery you’ve just created) which starts with ‘gallery ids=’. Highlight all of the numbers that appear there (these are the ids of the images you’ve just inserted into the gallery). And copy them (‘cmd+c’ on a Mac or ‘ctrl+c’ on Windows).
14. Switch back to the visual editor by clicking on the tab that reads ‘Visual’.
15. Now find the numbers in the short code you pasted earlier and replace them with the numbers you just copied from the text editor.
16. Click ‘Publish’.
